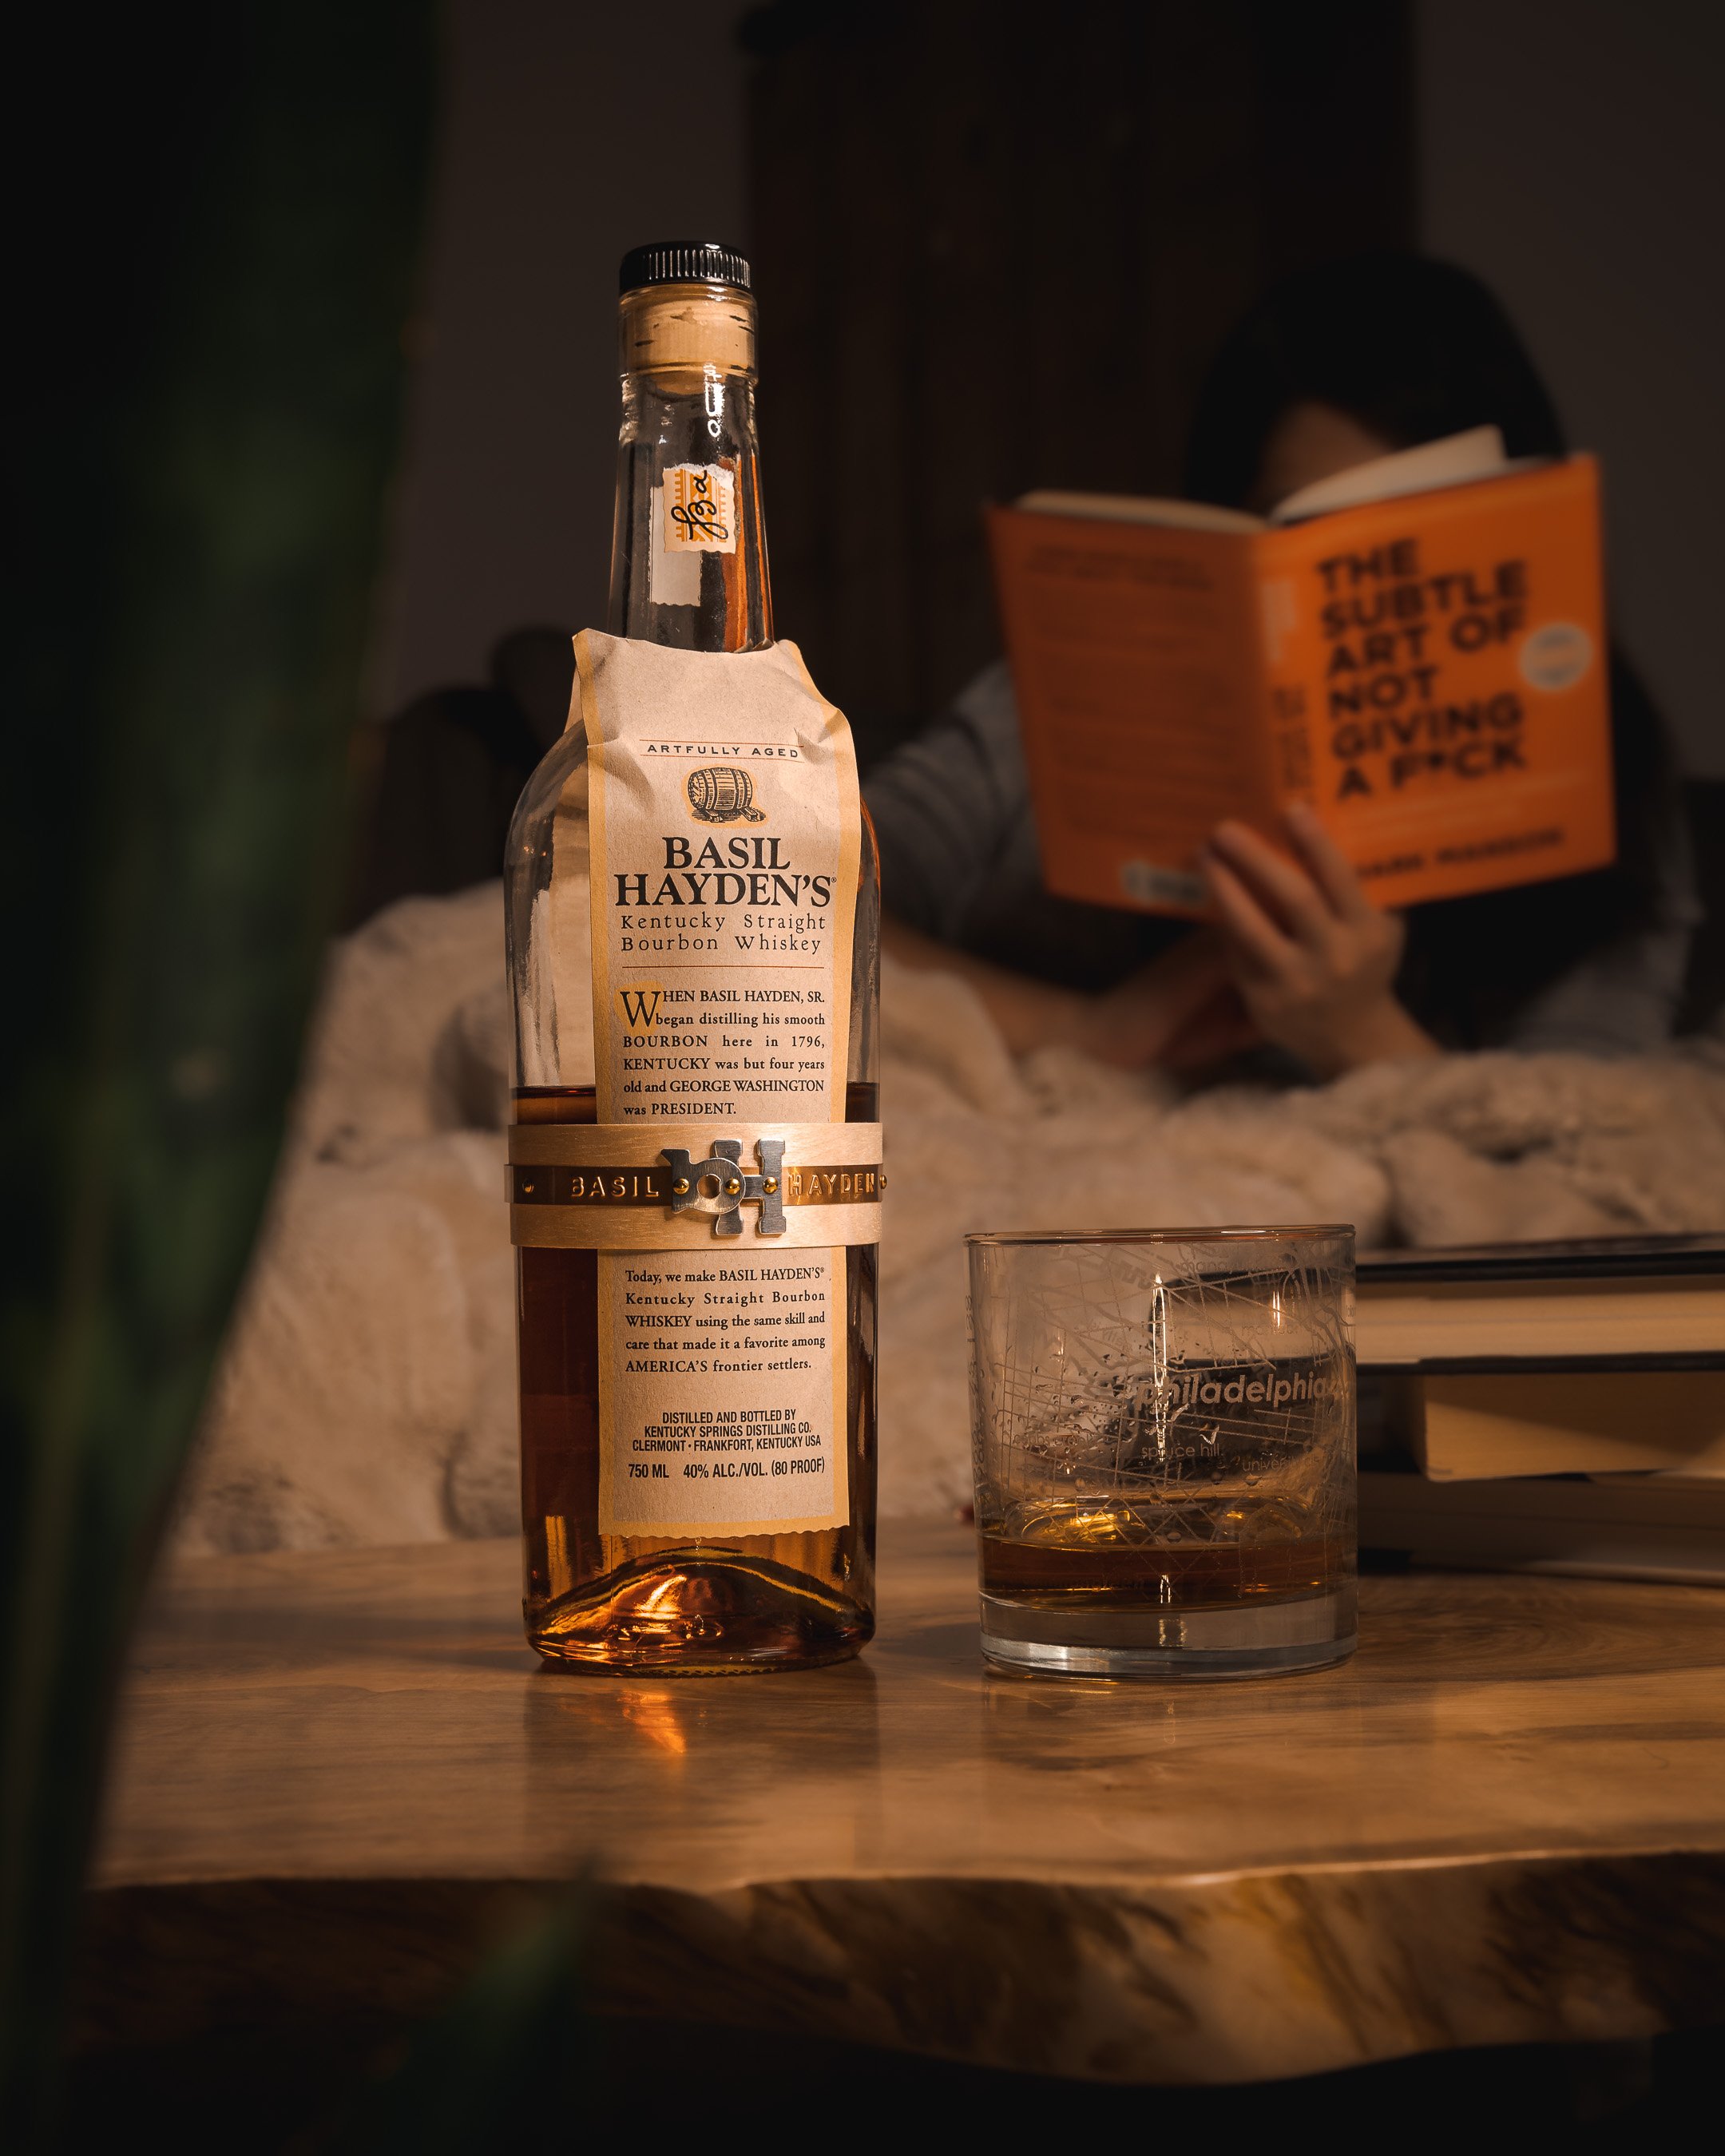
ZERO BUDGET BEER PHOTOGRAPHY
If you’re following me on instagram, you’ve might have seen my ongoing beer-centric product photography series. If you missed any of them, check the slideshow below and follow along through how I do a product photoshoot for zero dollars.

I really do love shooting these drink photos. It takes equal parts creativity, problem-solving, deep thinking, and most importantly, lots of beer!
The crucial first step to starting any product photoshoot is simple but important: I have to actually like the product I’m shooting. Since these photos have been for fun and on my own time and dime, I’m only going to do it for products or companies I believe in. If the beer made it into one of the first five, know that I’m a big fan (and if a beer isn’t on here yet, stay tuned).
The next step is understanding the vibe of the brewers or that specific beer. What’re that brewery’s core values? What flavor profiles are present? What style is the beer? Where is it brewed? The list goes on and on, but answer these questions and you can start building the character of the shot.
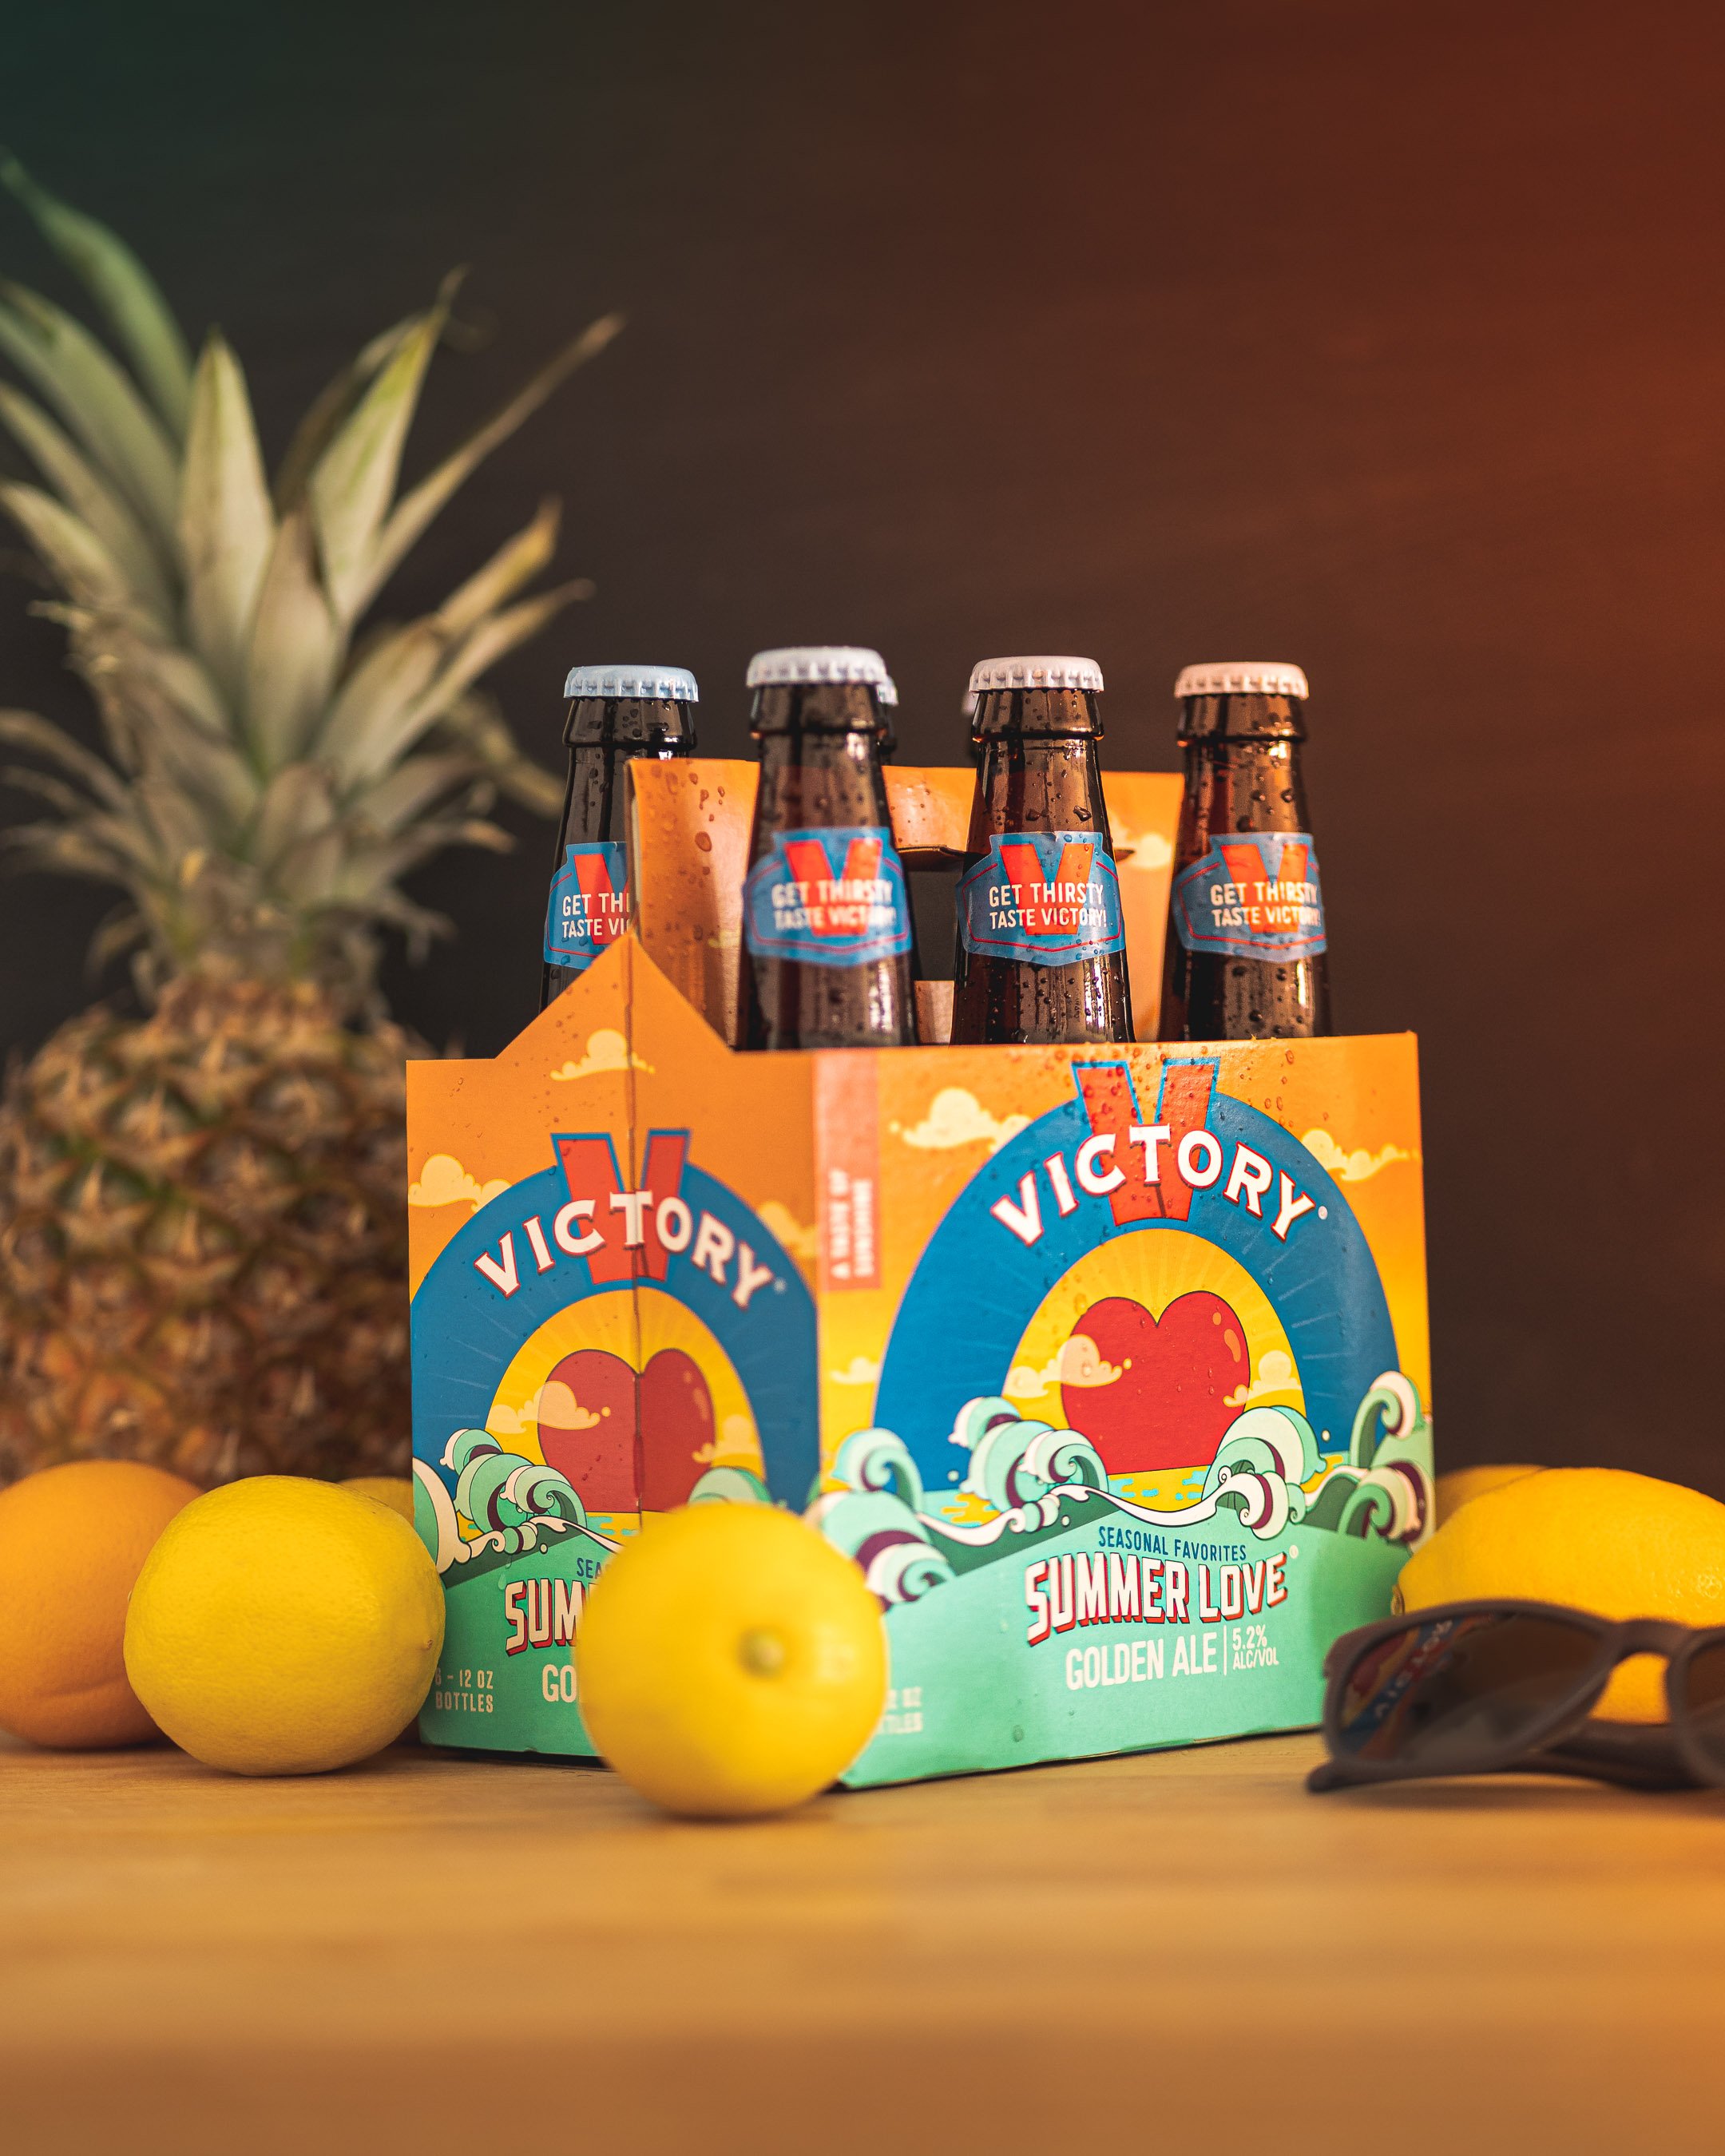
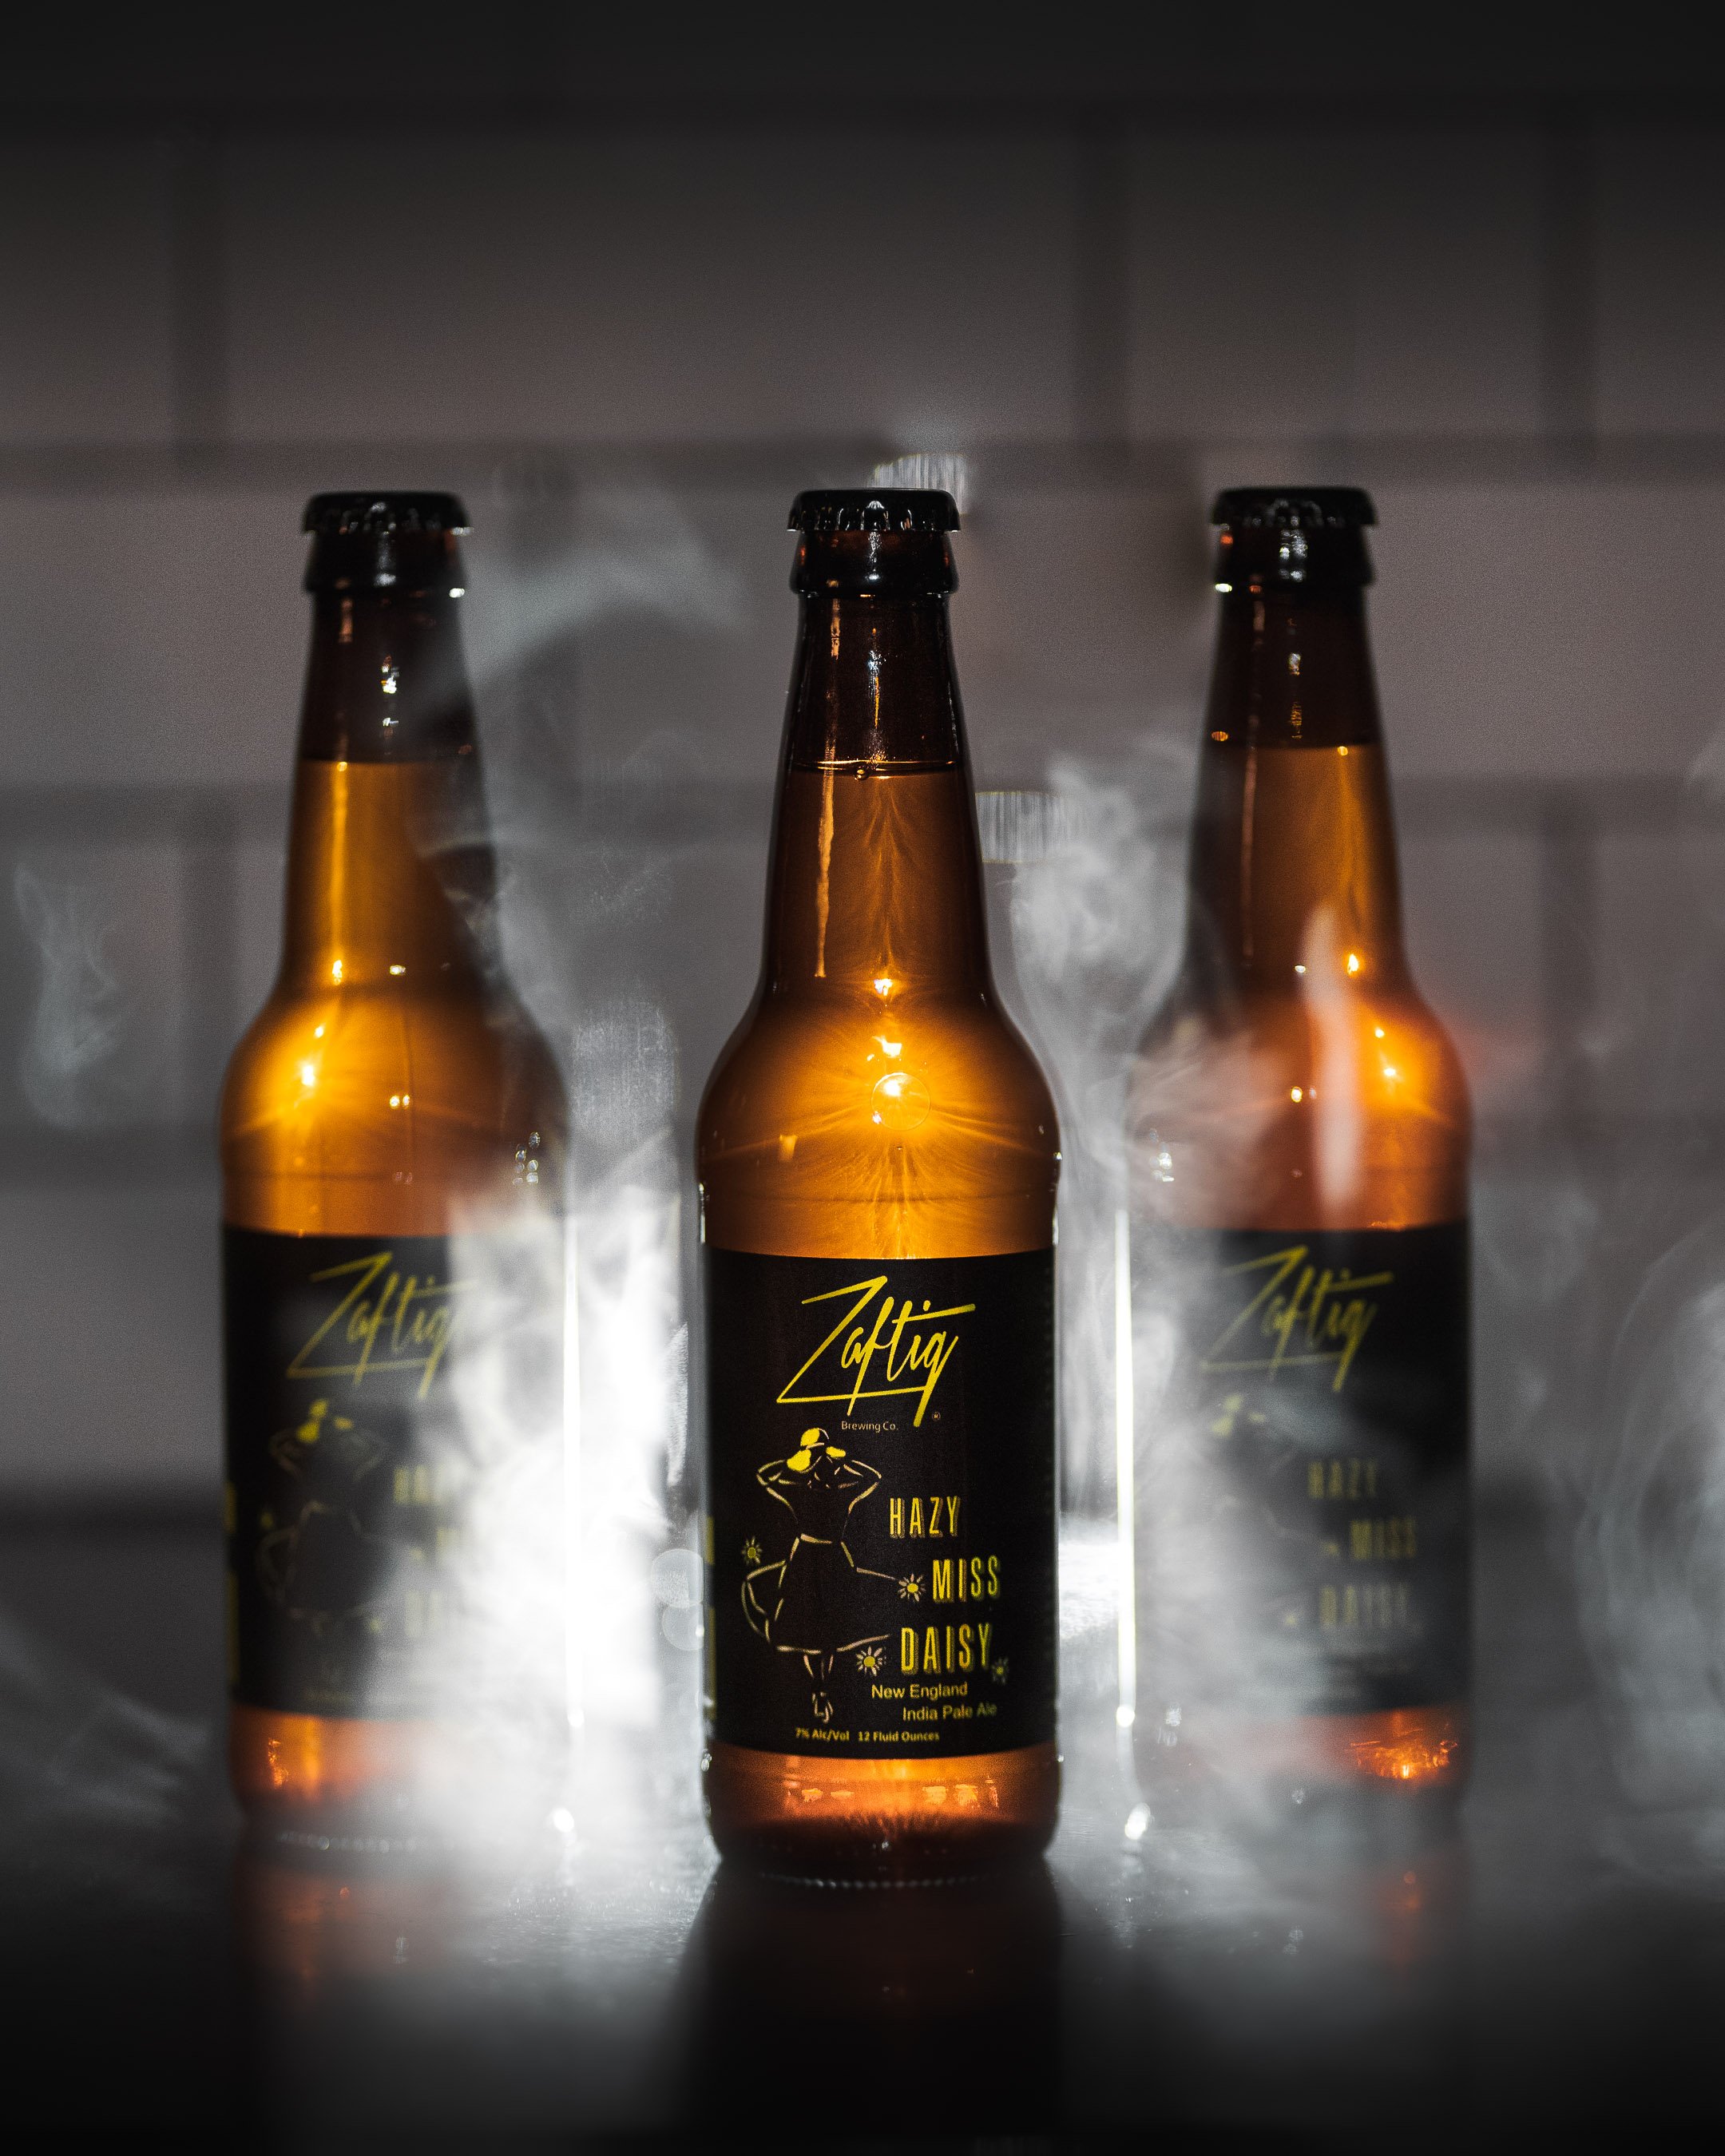
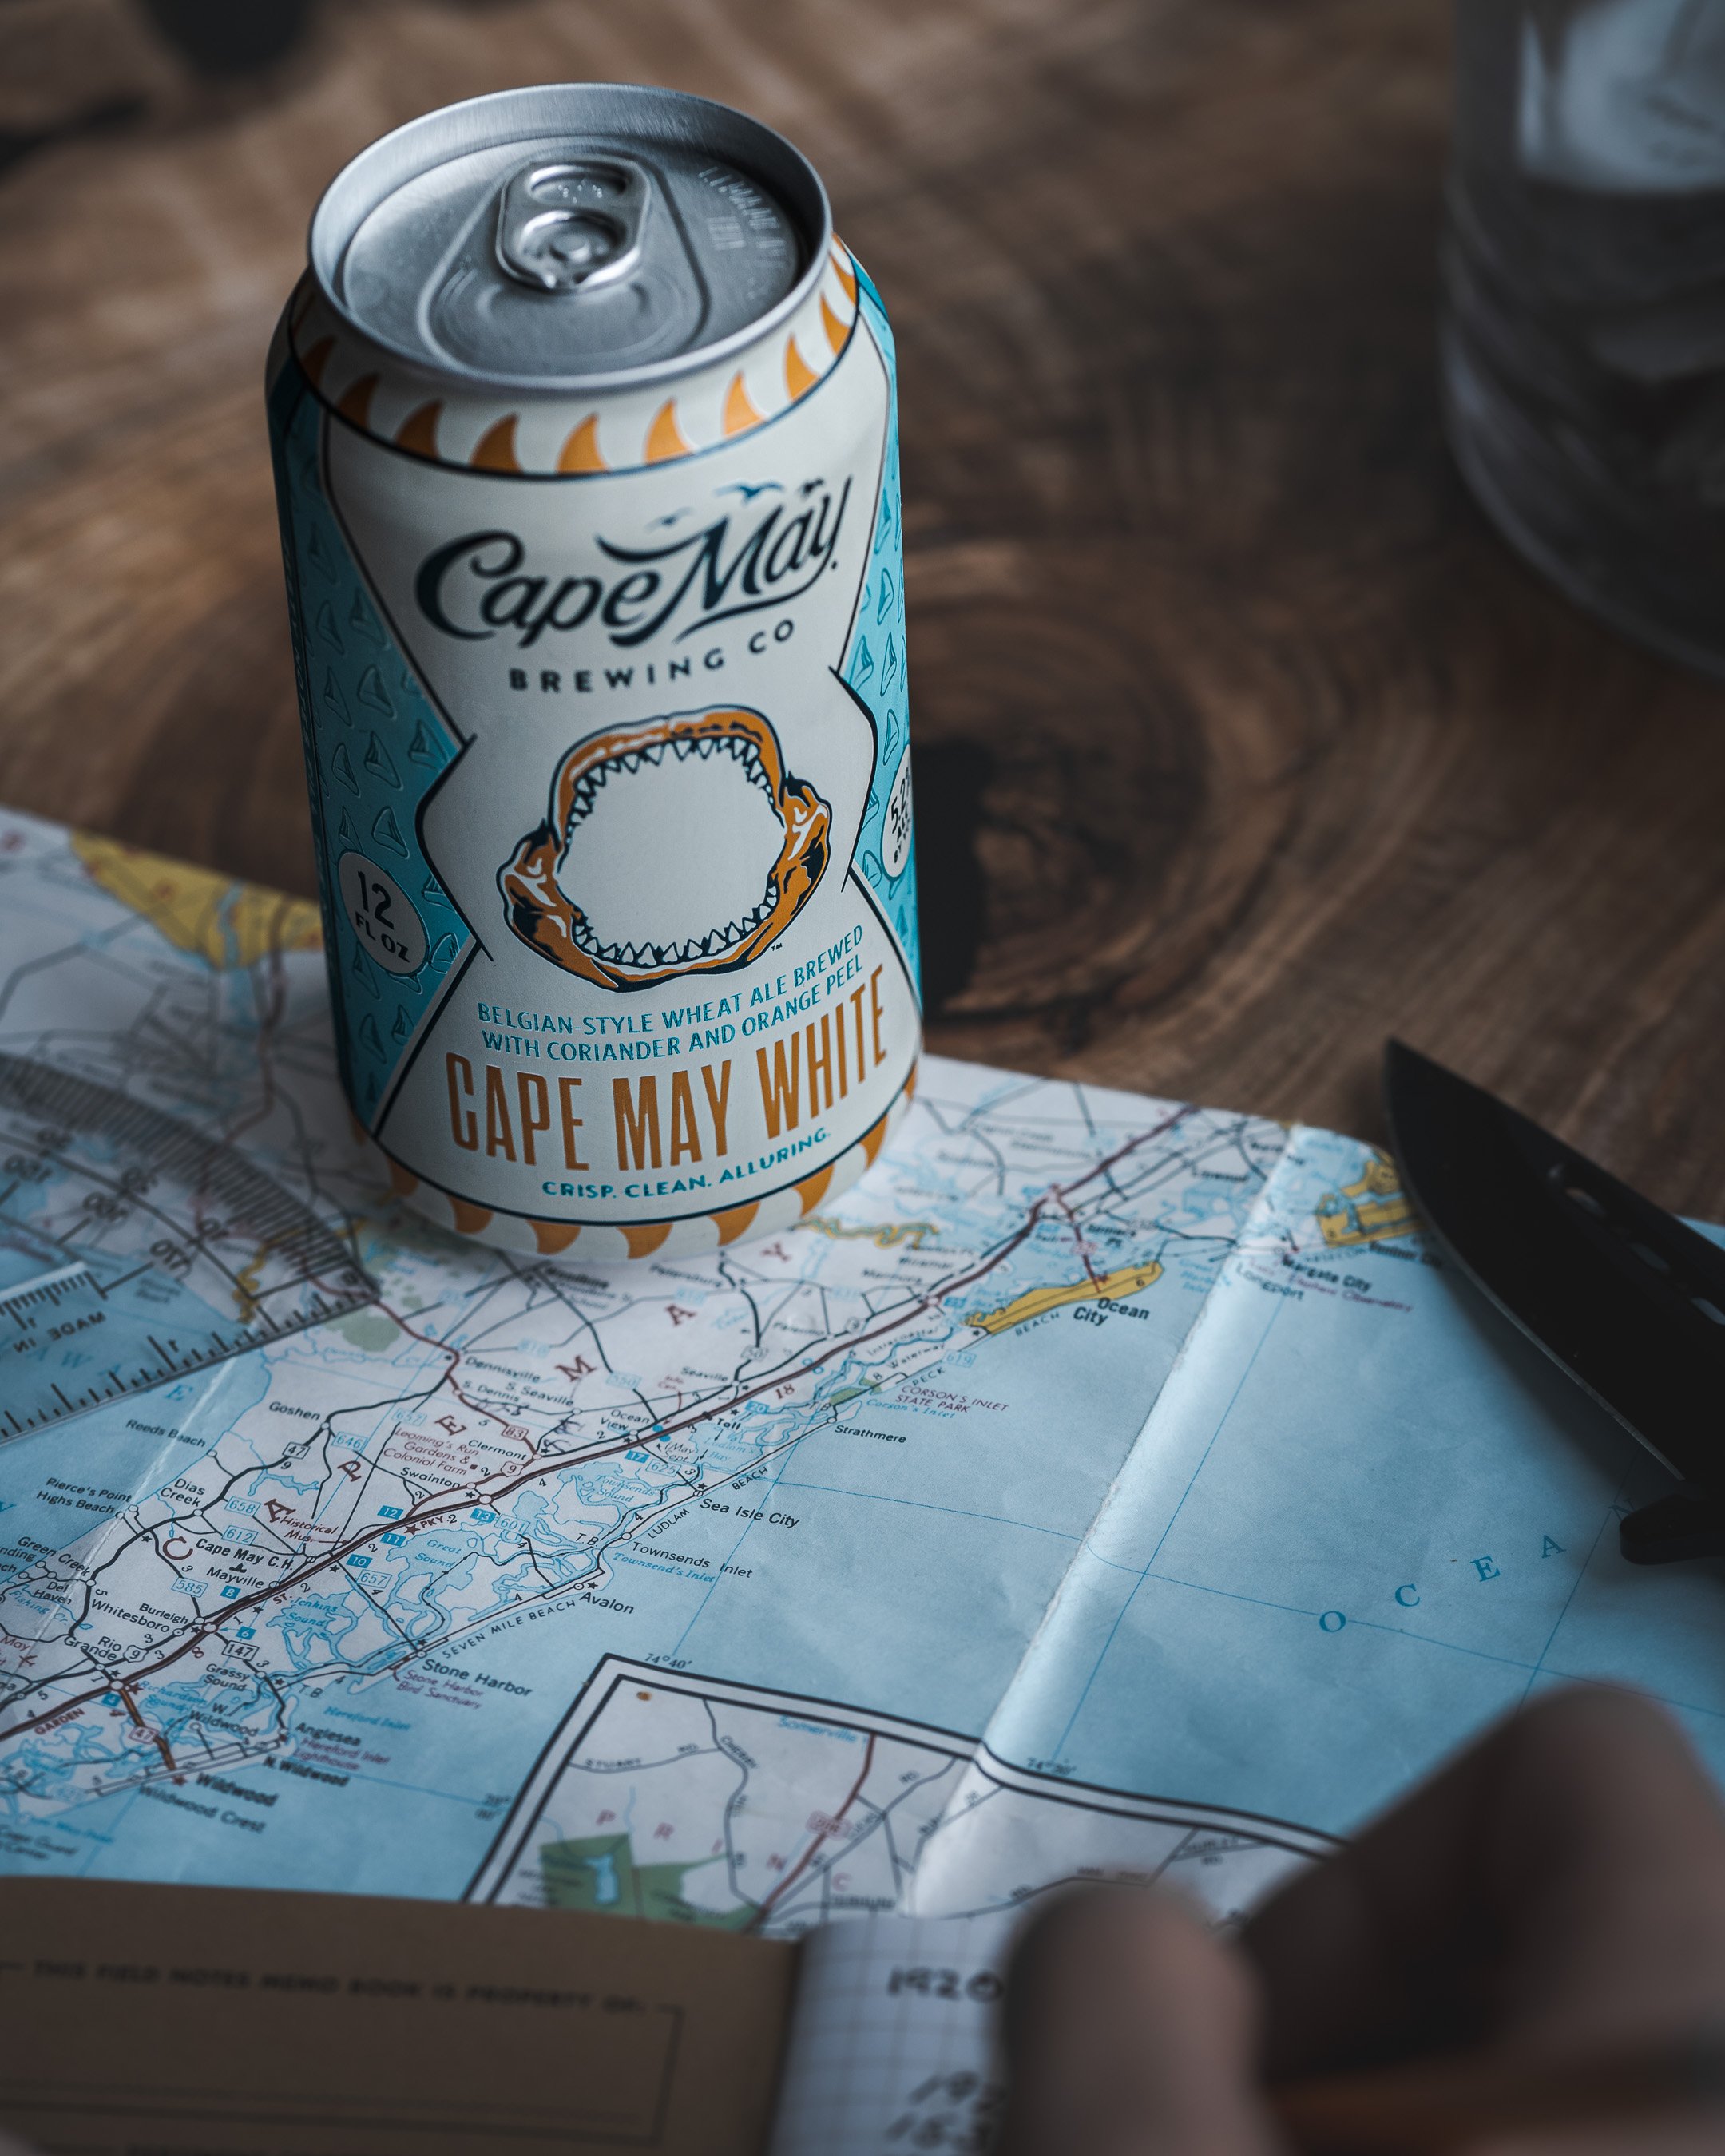
So you got your beer and you answered those questions. Now, it’s time to put everything together to set the scene. I will admit some of these scenes were a lot harder to build than others. For example, Victory’s Summer Love just required good lighting, citrus fruits, and a pair of sunglasses to get my point across. On the other hand, Zaftig’s Hazy Miss Daisy was a lot more difficult to get my humidifier to create haze, and Cape May Brewing’s Cape May White was the hardest to accomplish with the materials I had. Check the behind-the-scenes photo below!

Shooting up through a transparent fridge shelf taped to two stools… lol

Me holding down the sensor on my humidifier so it would make “haze”
Once the shot is done, it’s time for the post processing or editing. Just like the shot setup, some are harder to edit than others. Homestead required almost nothing, but Hazy Miss Daisy needed some photoshop layer merging to get the haze looking the way I wanted, and Cape May White called for some unwanted objects being removed from frame.

Before the edit in lightroom

After the edit in lightroom
The key to all of these photos has been finding a way to use the materials I already had at home to get the shot. I did it this way for two reasons, A) no one was paying me for any of these so my budget was $0 and B) we had just entered Covid-19 quarantine so I couldn’t do too much outside the house. It’s easy to get good shots with a thousands bucks, but it says a lot more when you can do it for zero.

I’m pretty happy with how they turned out, but I’d like to make even more. Keep an eye out for more to come, my gears are always turning for my next idea… If you’re able to, show some support to these breweries, especially during a global pandemic! Lastly, but most importantly, if you know a brewery looking for some product photography, send them my info!
Cheers,
Shawn
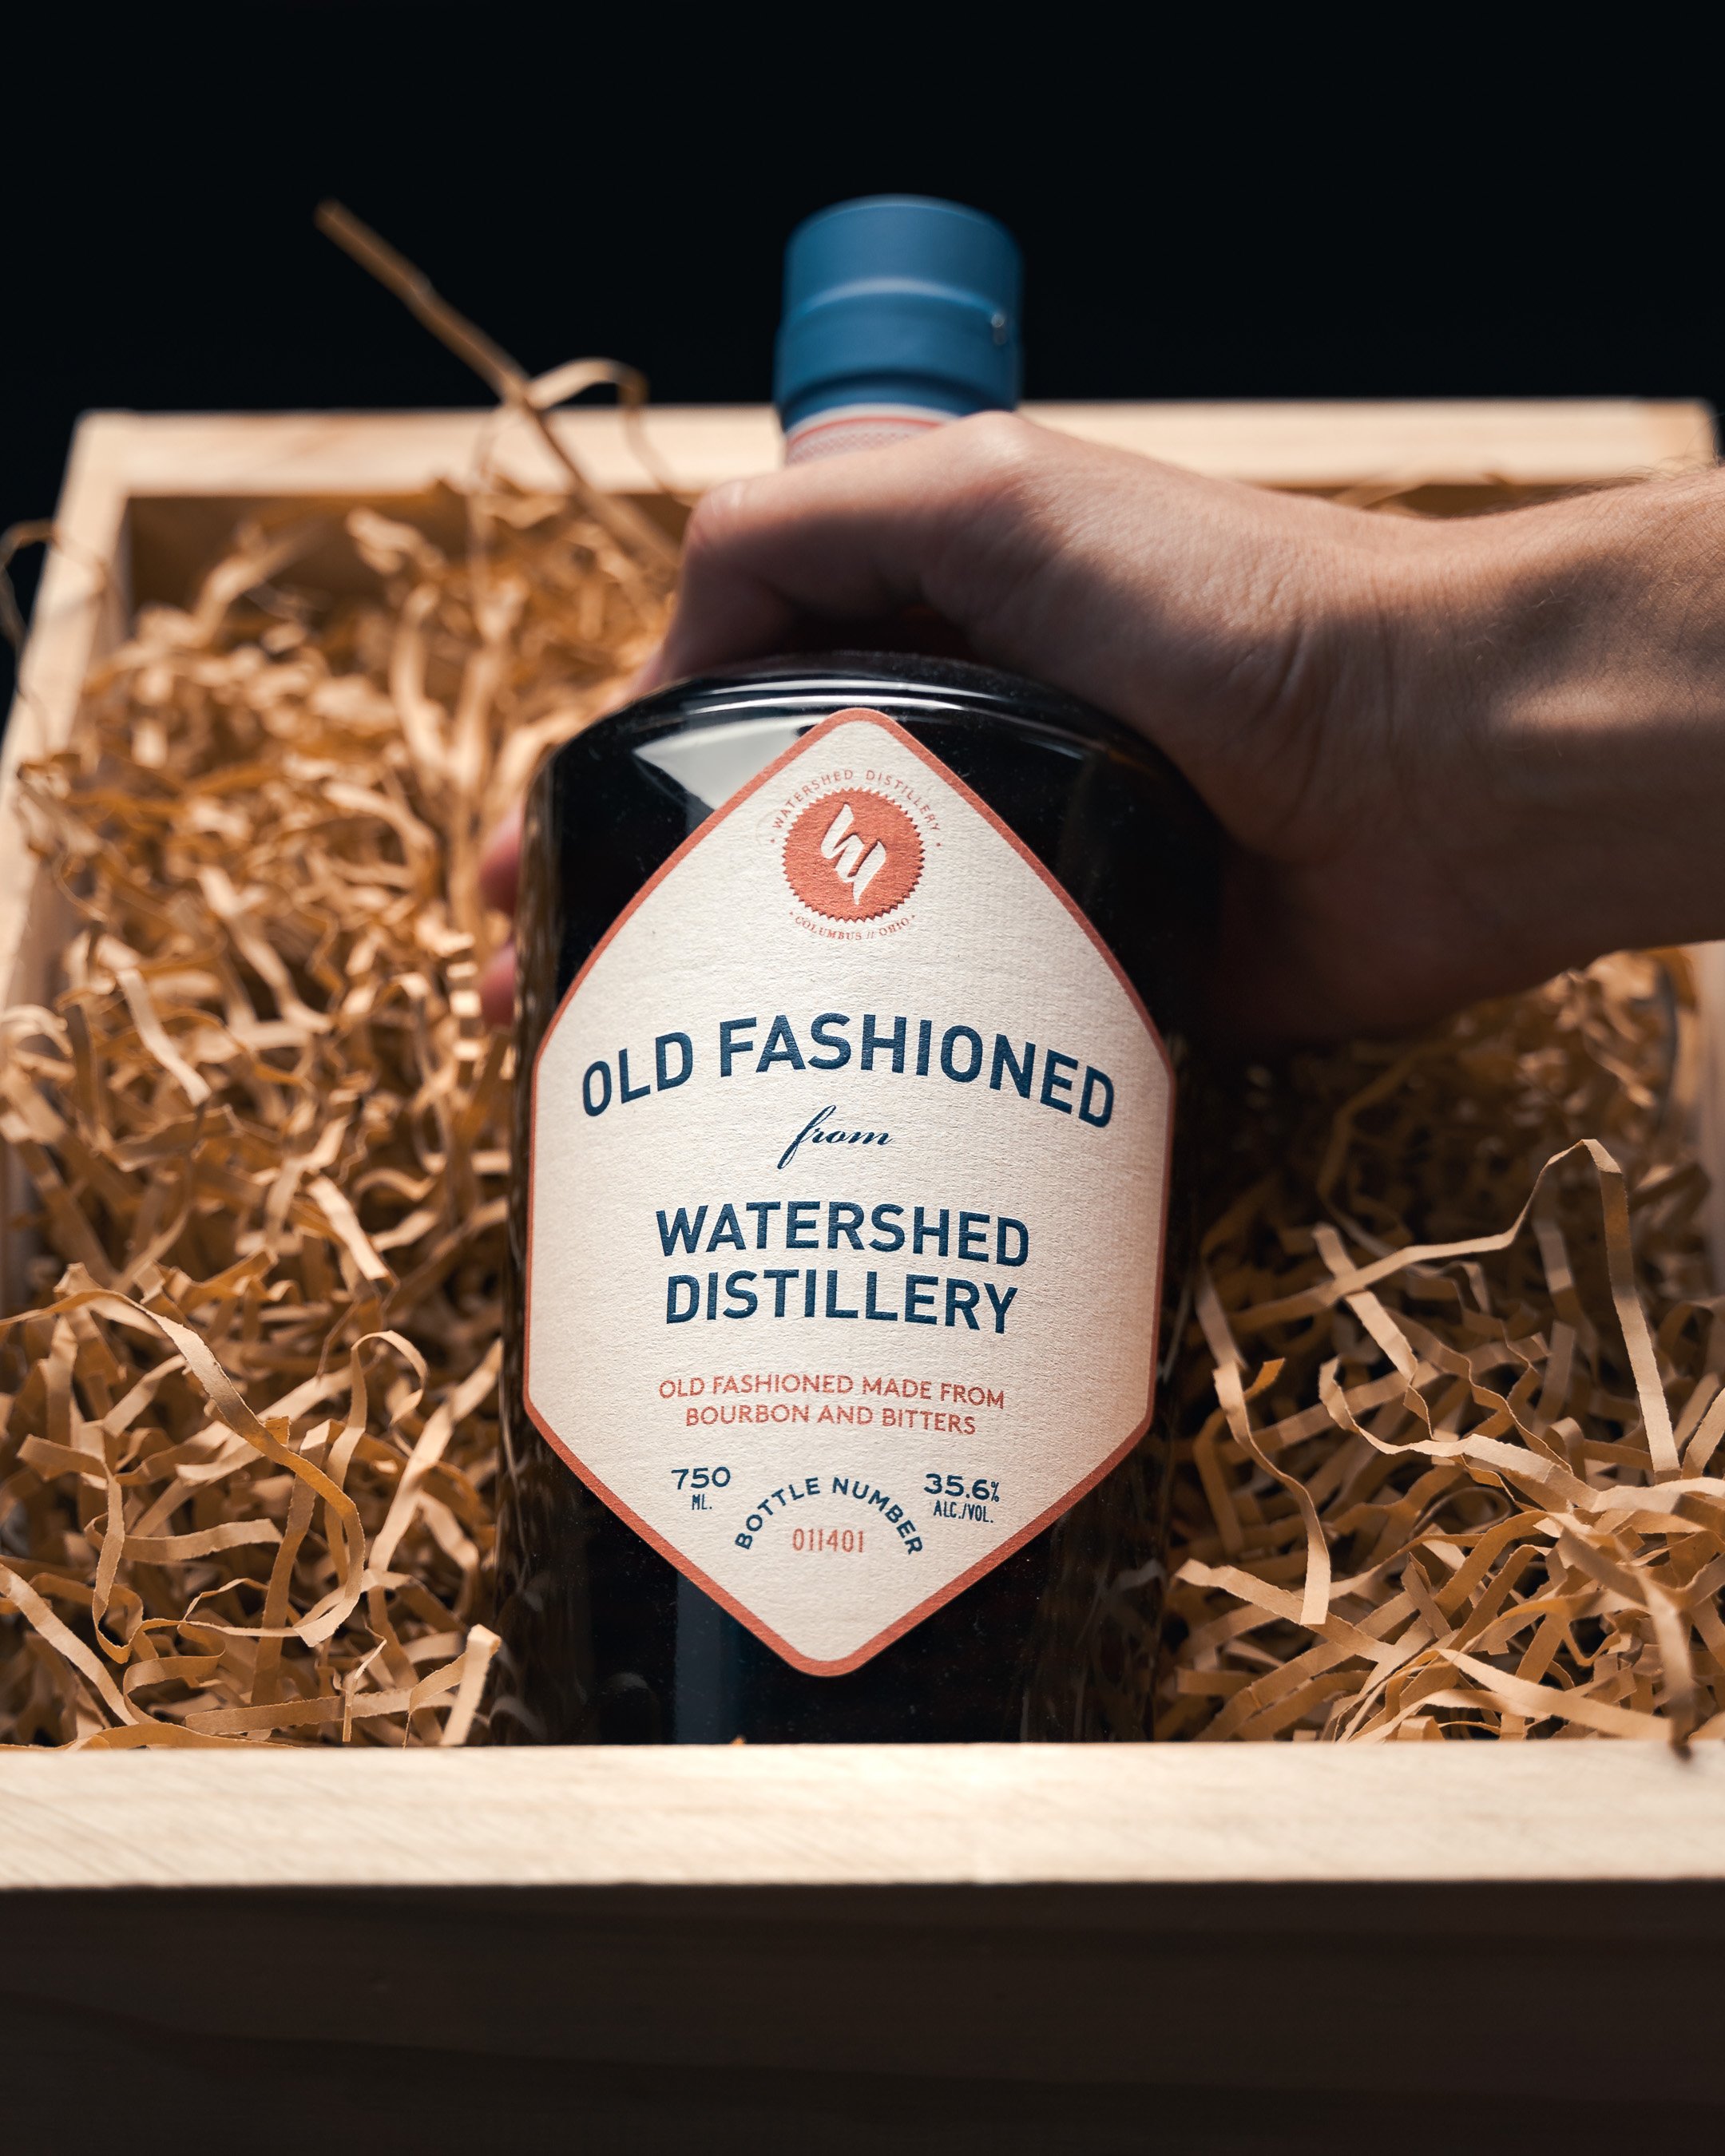
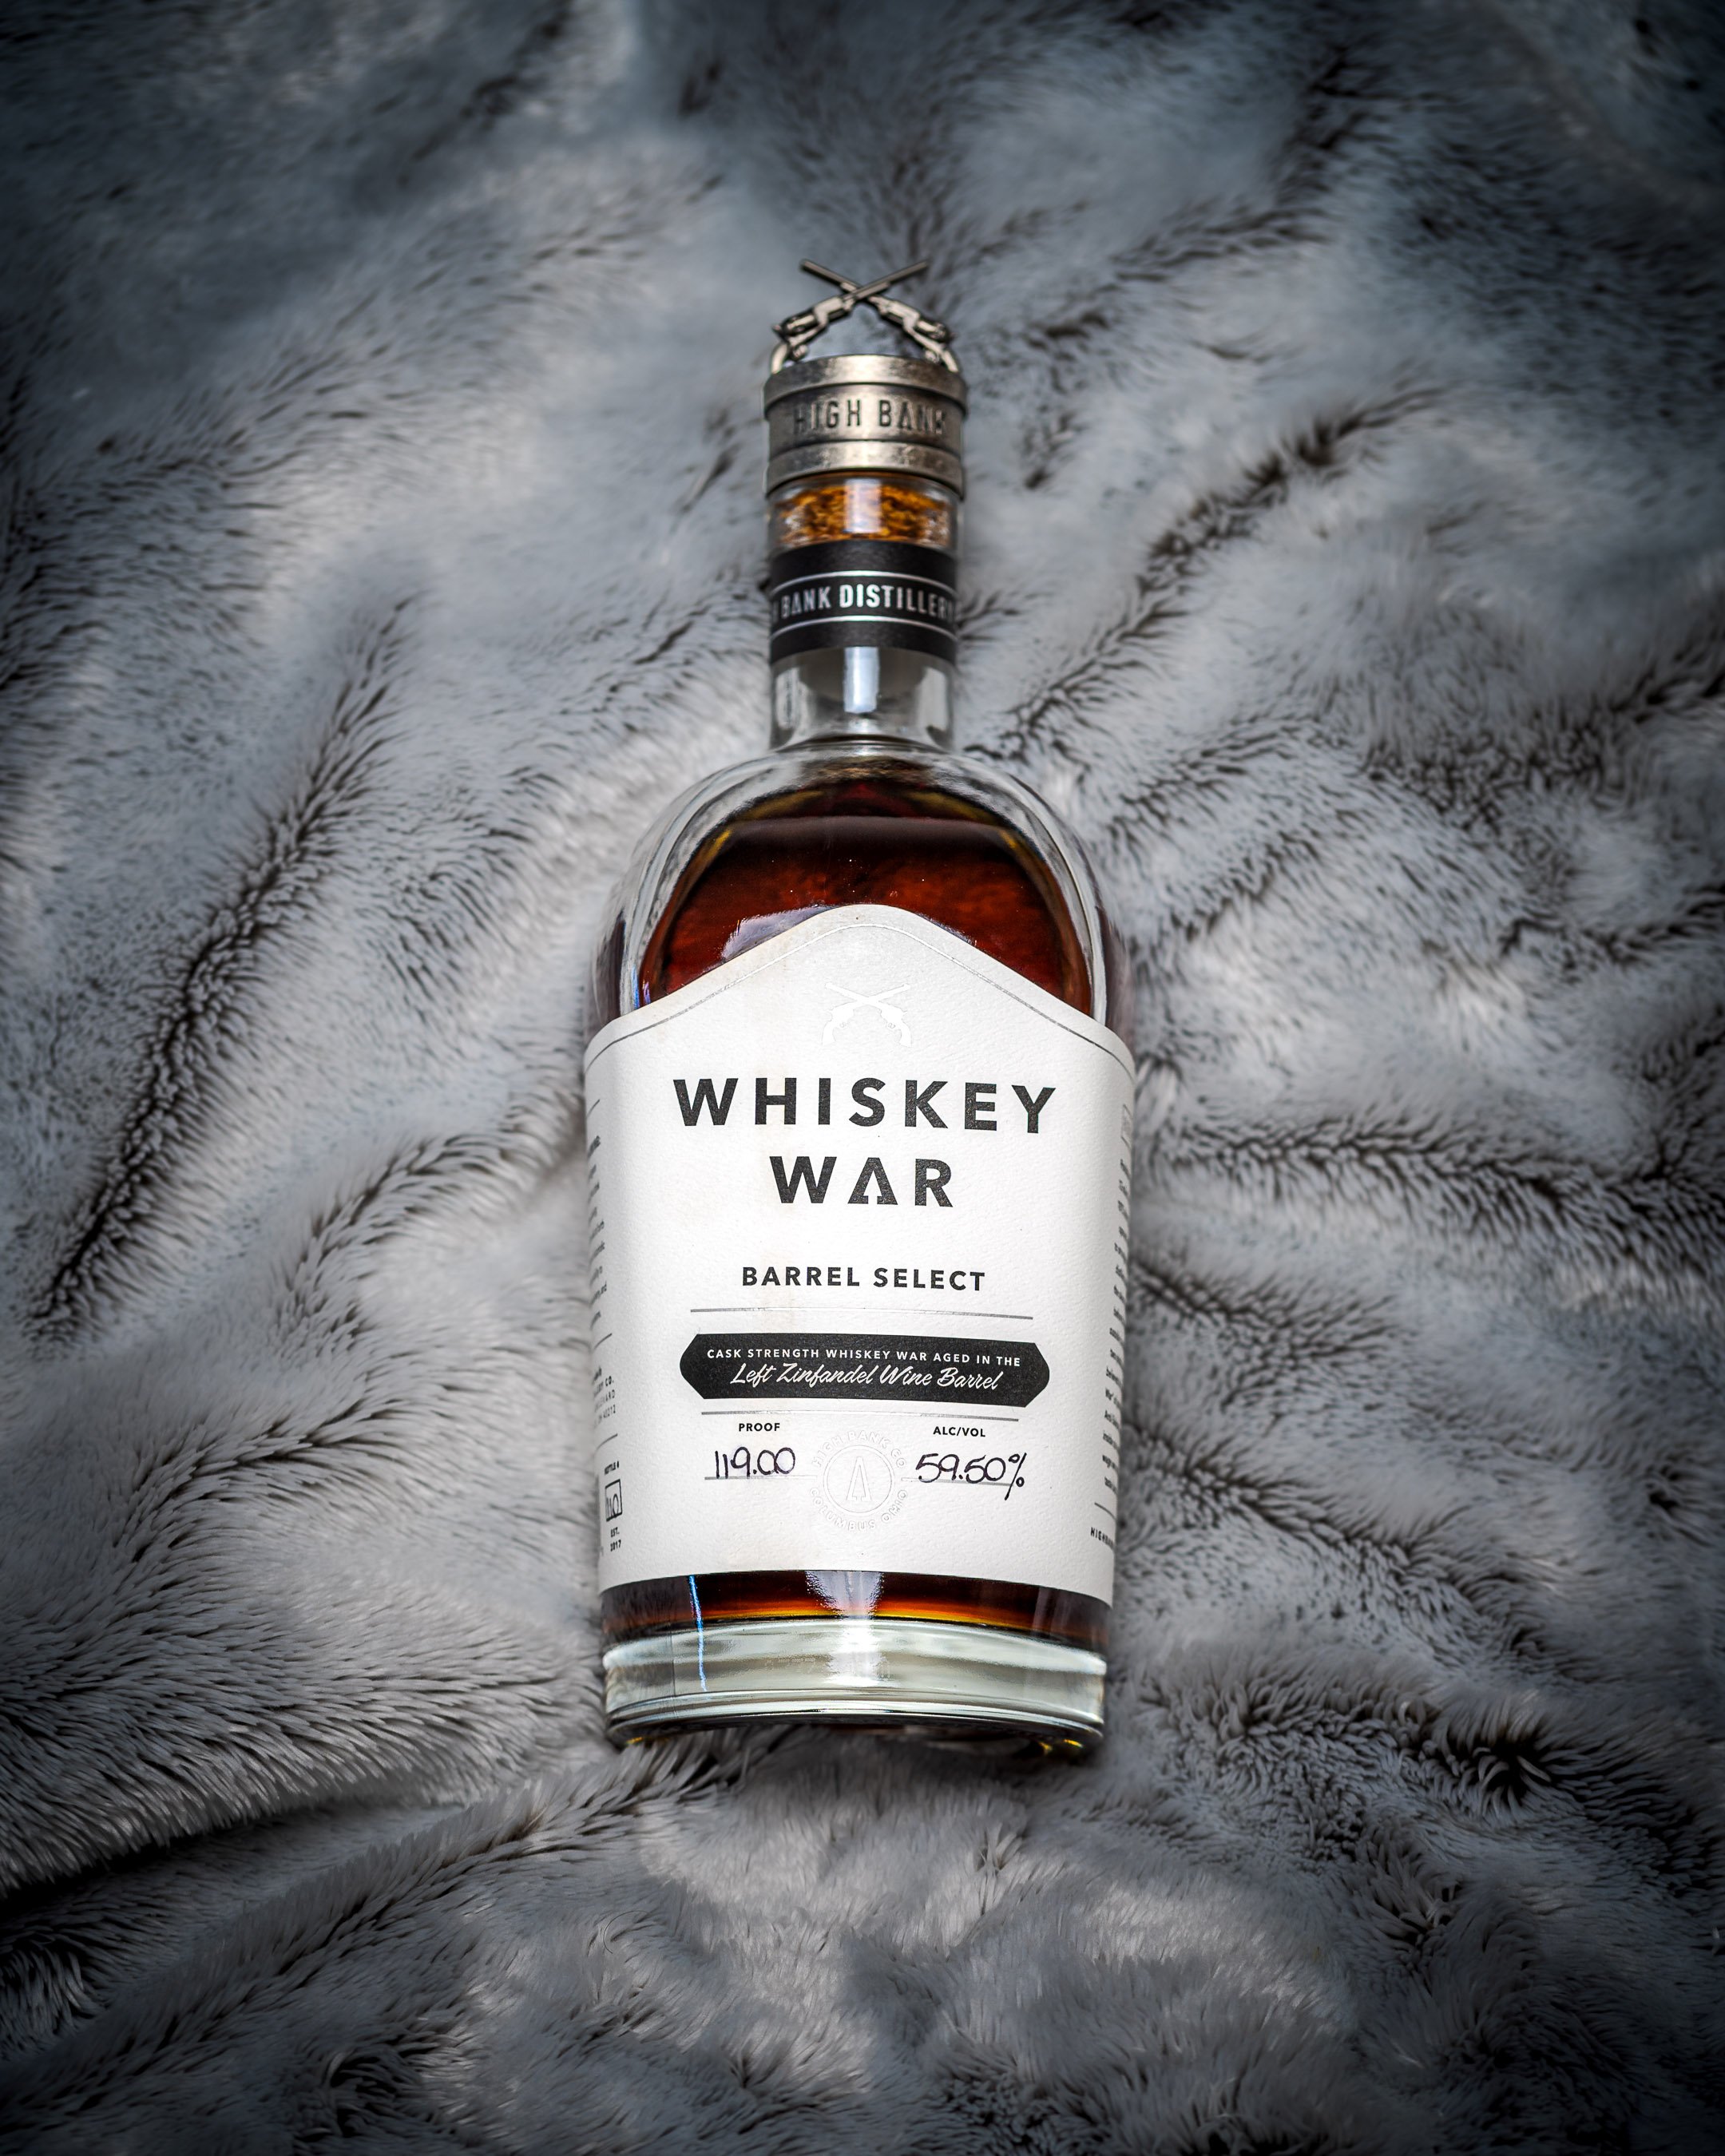
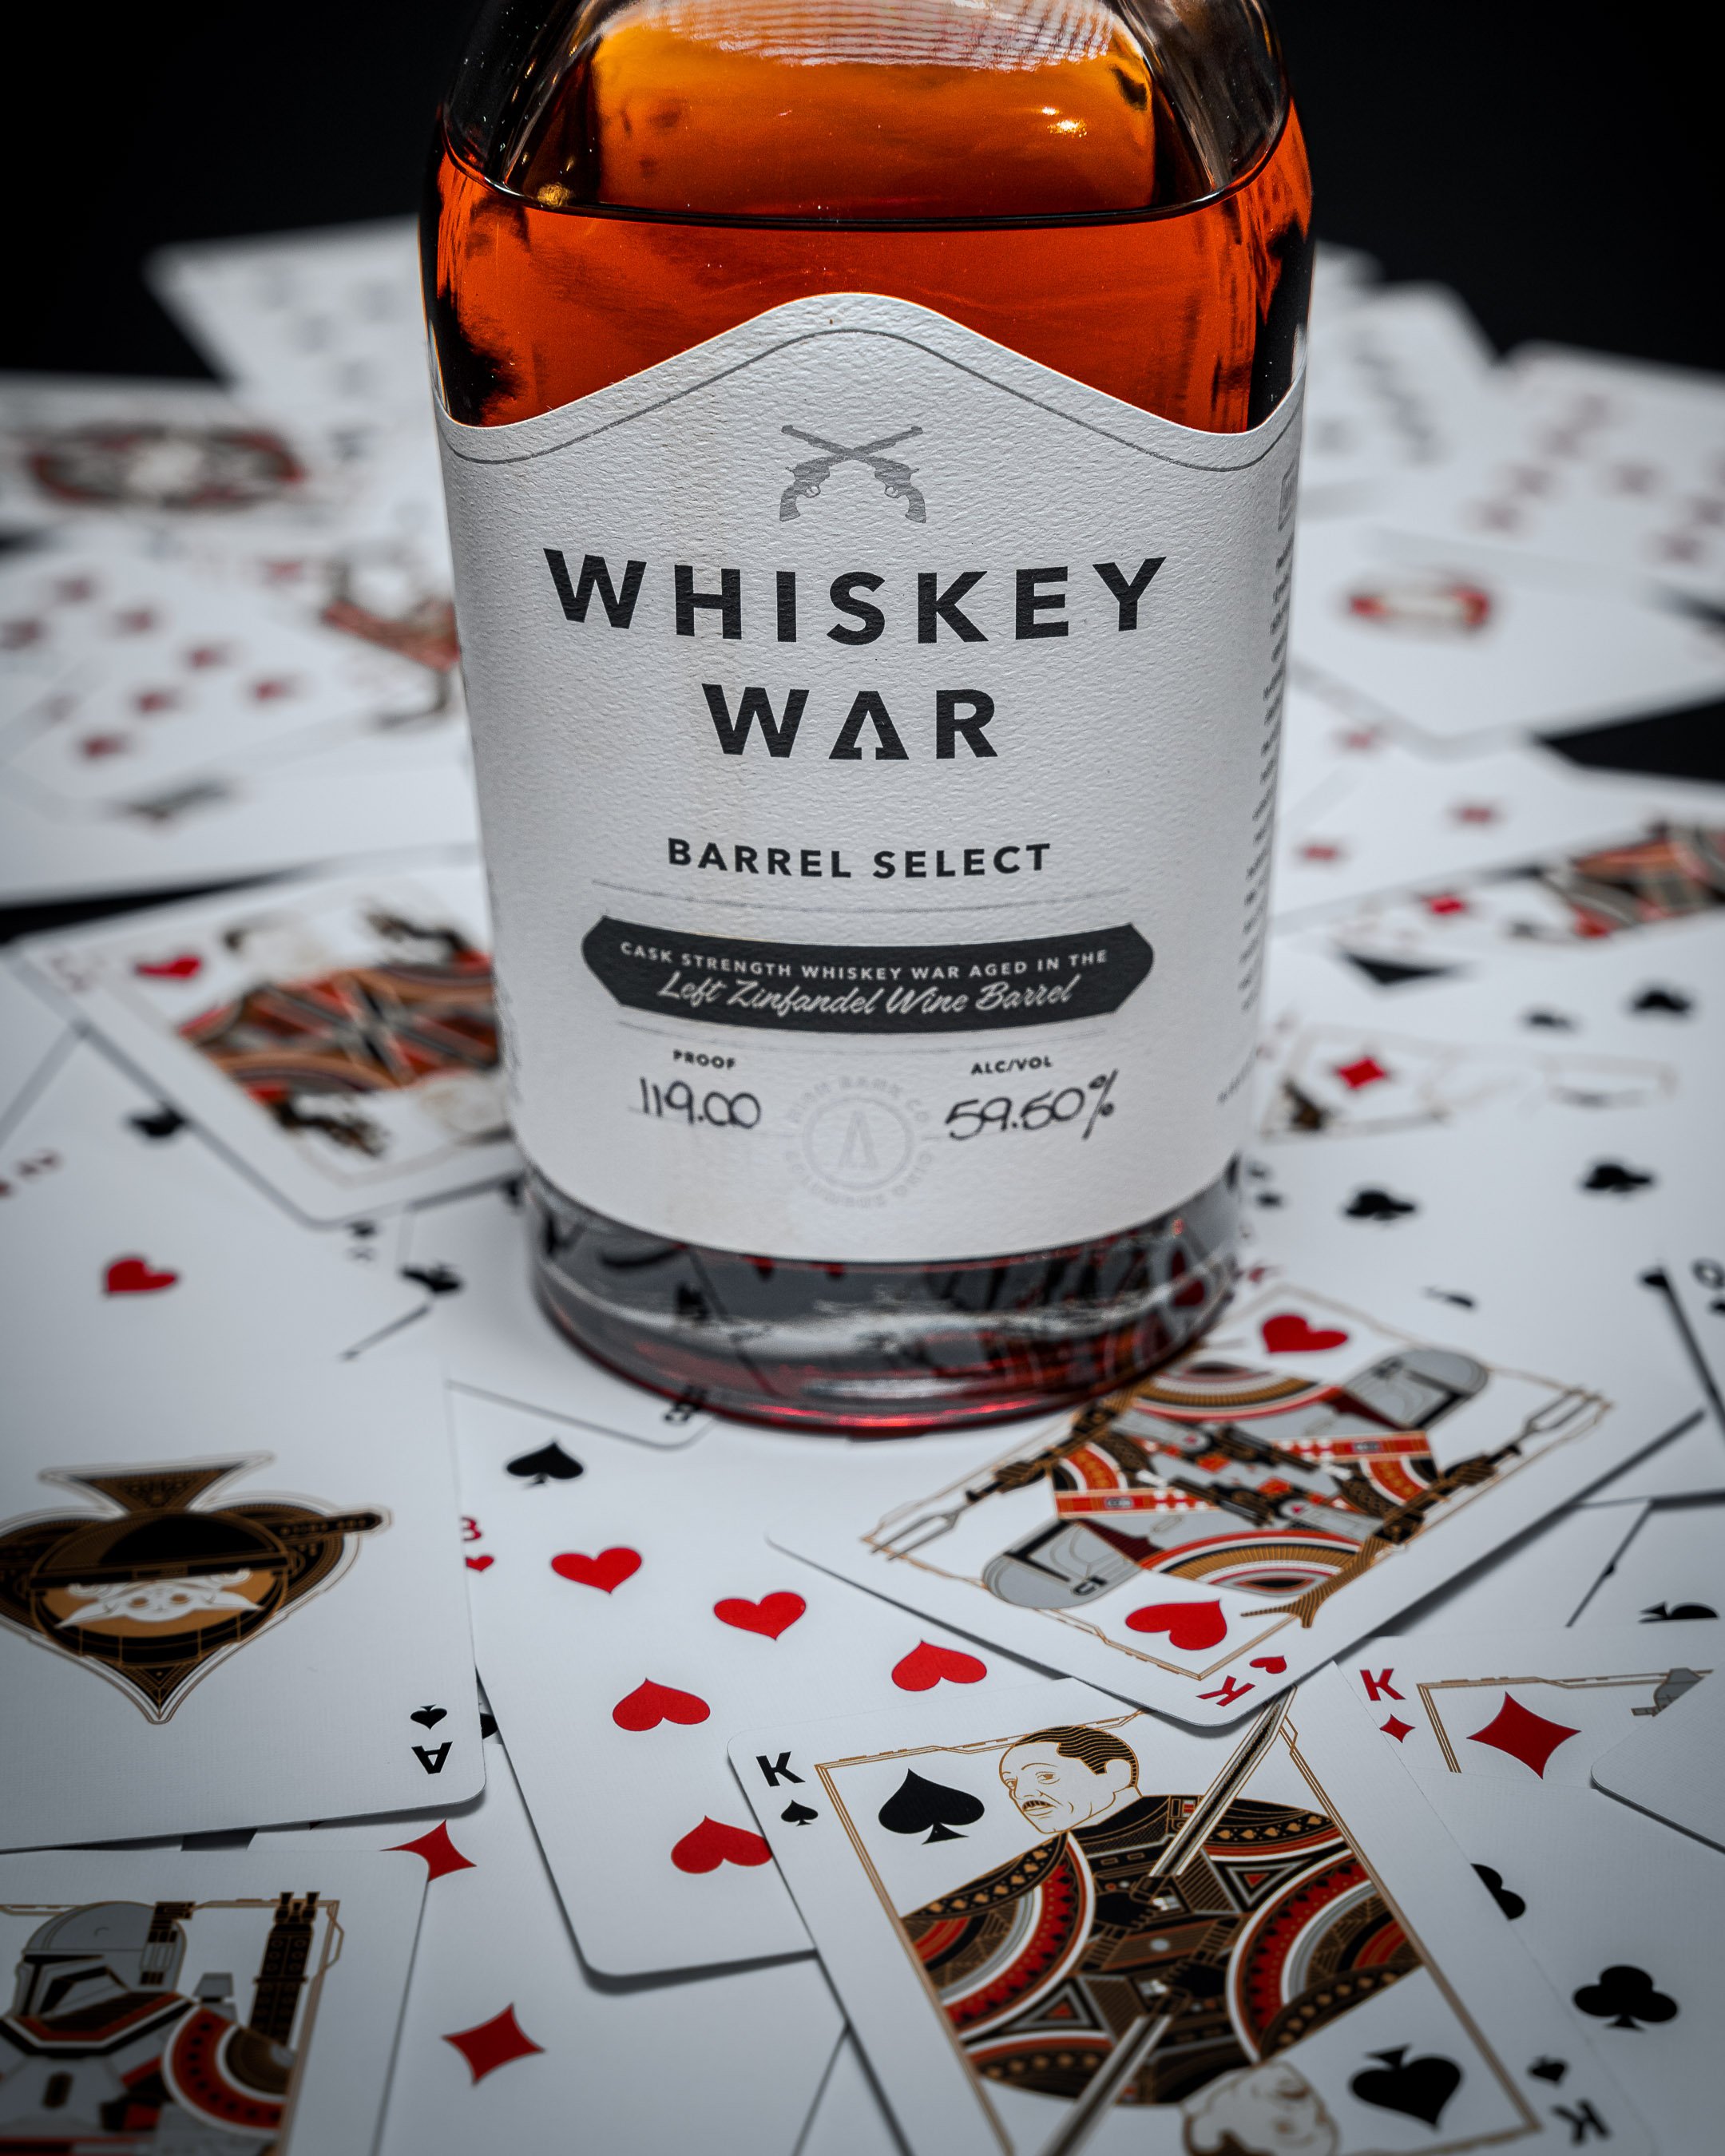
Thanks for reading the blog this far! As a reward, check out some other drink product photography I’ve been doing as well.