
PRODUCT PHOTOGRAPHY ESSENTIAL GEAR
After years of trial and error, I’ve learned a lot of lessons about the best ways to do product photography. There’s a ton of different settings, and cameras, and lenses; but here, I wanna highlight some of the equipment that really elevated my product photography from amateur to professional.
These tips and tools are great for any product photographer, but for small businesses doing their own product photography. You don’t need all of these items, but, when used properly, they can give you a more professional look to make your products stand out!
1. Clear Backgrounds, Full Hearts, Can’t Lose.
If you’re taking product photos in a studio, the first and quickest way to elevate the professionalism of your images is to clean up the background. I would highly suggest getting a few different color rolls of backdrop paper. Start with white as the base, expand to black for more dark and dramatic photos, then grab a green one for any green screen needs. If you have a need for specific colors to match your brand, you can bet they make a backdrop in that color too. They come in different sizes, but if you’re in a small studio, traveling, or on a budget, you can always use poster board from the craft store too. Currently, I use Savage Paper from Midwest Photo.

2. Let’s Get lit!
The single aspect that separates good product photos from bad ones is the lighting. In the beginning, you can get away with natural lighting by using a close window, but eventually you’re gonna want more control over the light. Pick yourself up a solid light with a stand. I recommend a light that can do both continuous (always on for video if you ever need that) and strobe (higher power flashes for still photography). It can get a little pricy, but it’ll pay itself off right away in quality and convenience. This light shown here is a Godox FV200 (if you couldn’t guess…).

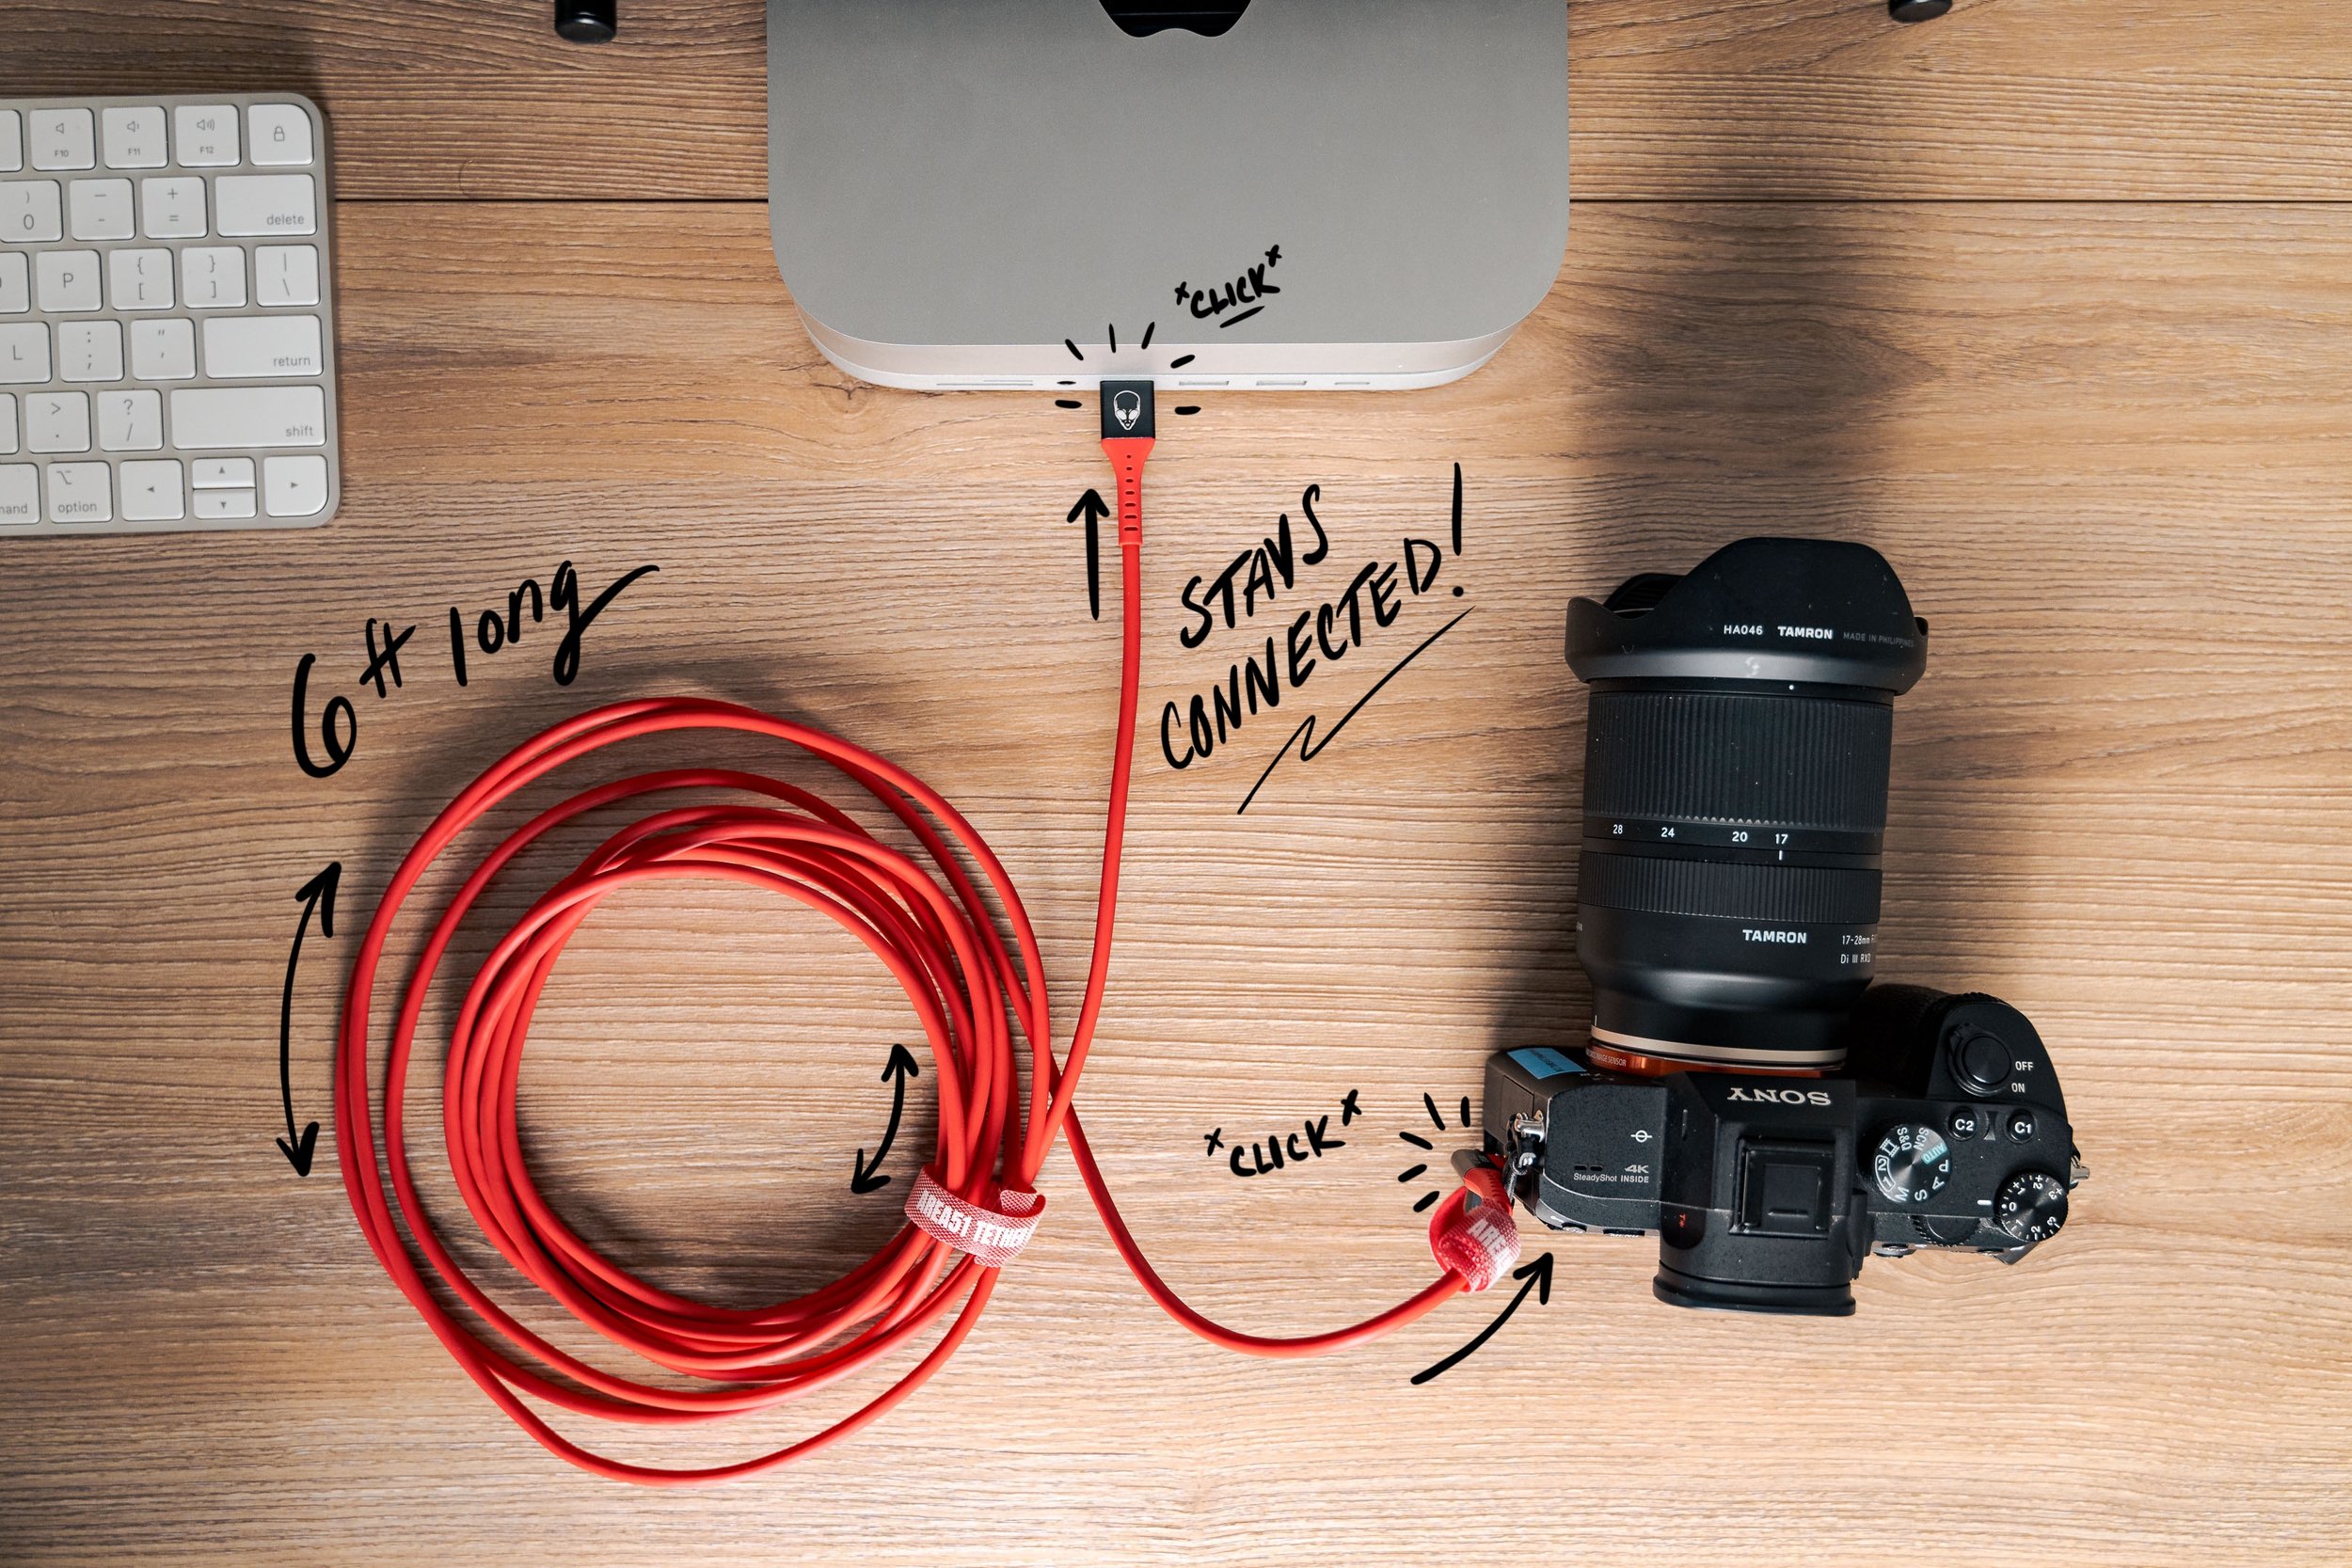
3. Tethering: Stay Connected
A more recent discovery of mine has been the concept of tethering. Tethering is running a cable from your camera to your computer or tablet. It allows you to instantaneously view photos, overlay edits, and even compare multiple shots with ease. When in my studio, I mount my camera on a tripod, then tether it to my desktop. This allows me to control every setting on the camera from my computer and see the results real time without having to check the camera and accidentally move it. Tethering also saves a ton of time by not having to remove the memory card, import to the computer, check the photos, put the memory card back, make adjustments, and do this over and over. That alone is worth the price of admission! I’ve been using Area51 Tethers and they haven’t disappointed yet!
4. BOUNCE AND FILL
I already mentioned that you can get white and black poster board as backdrops, but they can also serve as bounce boards and negative fill boards. Bounce boards “bounce” light back onto your subject, and negative fill boards prevent light from bouncing back on your subject. If you want more even lighting, a light on one side and a bounce board on the other work well. If you want shadows in a certain area, light up one side and use a negative fill board opposite the light. These are cheap, flexible, and easy to setup and store away. I usually pick some up at a craft store or anywhere that sells poster board.

5. Acrylic Sheets and Stands
Acrylic sheets and stands can have a lot of different uses. I mostly use them to act as invisible ways to hold products. I can shoot the photo through an acrylic sheet or prop a product up on an acrylic stand and remove it very easily in post. They don’t modify or block light so you don’t have to worry about changing your light or modifiers. A very niche tip: if you end up getting one, make sure it’s large enough so your product doesn’t reflect any edges of the acrylic stand (I learned that the hard way).

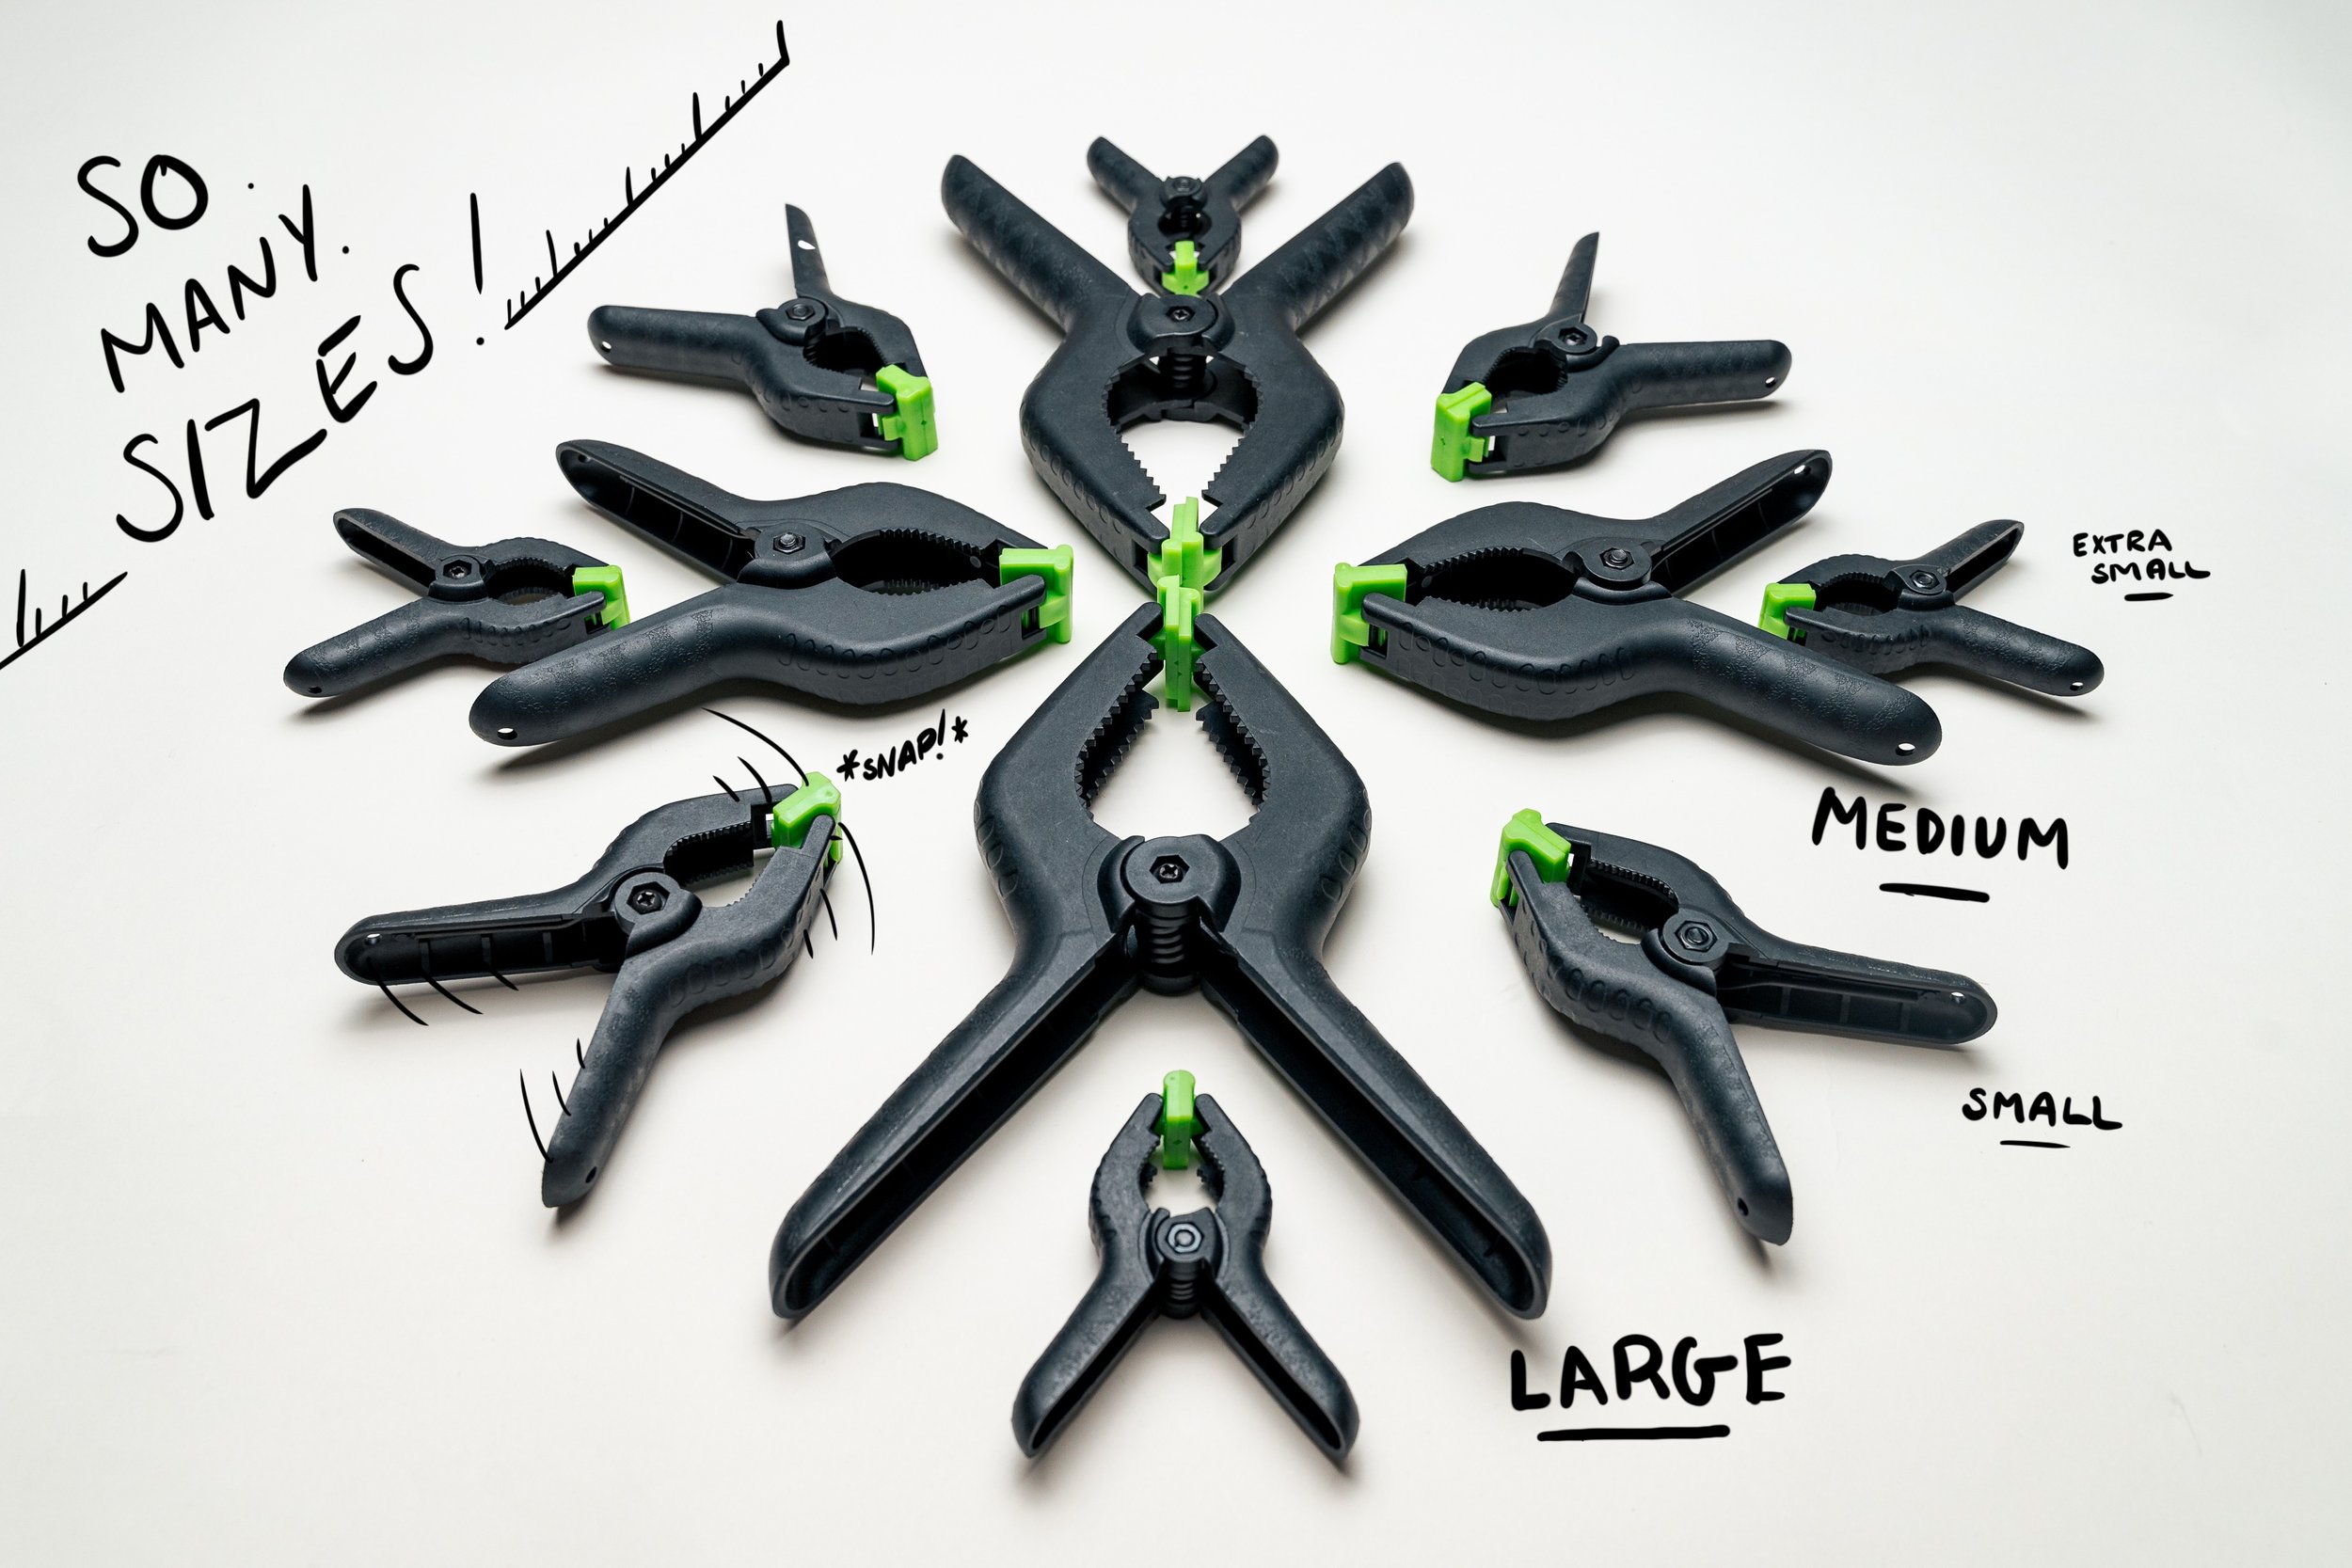
bonus. clamps!
Clamps are so handy in the studio. They come in all different size and can be used for many applications like wire management, holding up bounce or fill boards, fastening two things together, and so on! Even better: they’re really cheap - I got all the ones shown (plus more) for like 10 bucks total!
Hopefully this helped you learn something new about product photography or found a new tool to help you elevate your final shots. If you have any questions feel free to shoot me a message!
Cheers,
Shawn