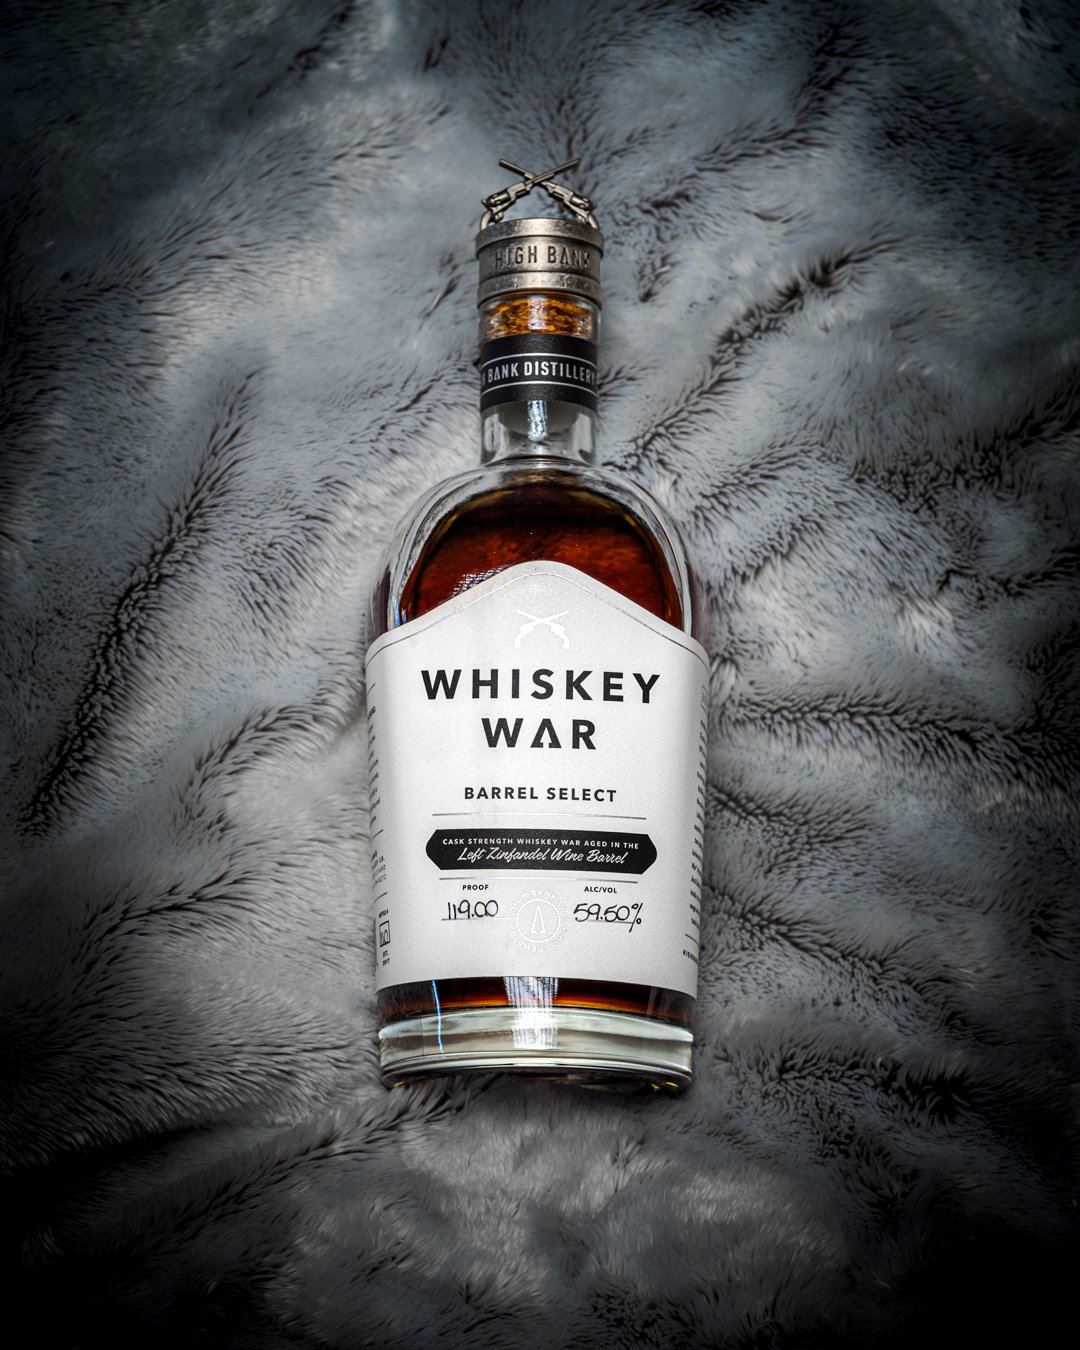
Tips from Years of Photographing Glass
I dove headfirst into photographing glass products when I was approached by a local company to do product photography for their new line of glass bottled products. Up until that point, I had photographed the occasional beer and whiskey bottle, but nothing I’d done had prepared me for what was to come…
The Light Side and the Dark
Any product with a matte finishing or made from paper or cardboard is a welcome product compared to glass. Every product has their own challenges, but glass is probably the most difficult. Very often, glass objects show every single fingerprint, smudge, and spec of dust, but we’ll get that part later. The real issues are glass’ reflective and transparent properties!
Light bouncing around a glass block.
The key to dealing with reflections and refractions, is to only put light on the things you want to see. That might sound dumb and obvious, but for me, working in a small studio space, it was difficult to prevent light from spilling on to me, the walls, the floors, and then bouncing back into the glass. The shape of the glass also changes how light reacts with it and what you see through the glass. The way to solve this is a four step process.
Remove all lighting sources that are not intended to light the product or the scene (i.e. turn off the ambient lights in the room).
Shine light on different corners of the bottle to see where it bounces to to better understand what will reflect off the glass back into the camera. I do this by standing behind the camera and shining a laser pointer through the glass and noticing where it reflects to.
Put as much space between the scene in frame and the rest of the studio. This helps reduce light spill but also reduces the size of objects that may reflect in the glass.
Put up blockers and bouncers where needed. Using black cards or black boards can be great to hide reflections from the glass and white bounce cards are great for adding light without adding reflections of unwanted details.
The Calm Before the Storm
The easiest part of photographing products is dialing in the camera settings. Most of the glass product photography I’ve done has been for isolated e-commerce photos. Since the scenes are completely still, I can use a very low shutter speed, and as narrow an aperture as I need. Depending on the lighting conditions, I shoot as low as 1/10 or 1/15 and have my aperture anywhere between f 8 and f 20. This ensures the photo is properly bright and as sharp as possible.
Wooooah, We’re Half Way There (Livin’ on a Prayer)
Now that you set the scene, setup lights and bounces and blockers, and dialed in your camera settings, it’s time for the really fun part… Editing in Post! I hope the sarcasm came through well.
As I mentioned before, glass shows every little detail and imperfection. Even when you wipe it down, dust it off, and handle the product with care, there’s still dust particles in the air or on your camera and other small imperfections on the glass you just can’t remove. If you’re just photographing something for instagram, maybe a few imperfections aren’t the end of the world; but when you’re professionally photographing products for use on business websites and print, removing all those defects is critical.
I typically zoom in anywhere from 100% to 400% to see what needs to be cleaned up. Maybe this is too much for some, but these images could make or break sales for a business so you want them to be as highly polished as possible.
If you look at the image on the left, you can see many imperfections, some remaining scuff marks, and other small particles. If you then look at the cleaned up image on the right, you’ll see how much better it looks. The pre-edited image should never be used as a product photo on a website or in print.
Every one of these icons is showing a location where I removed some imperfection in the photo.
When editing product photos (glass or otherwise), you want them to look as close to perfect reality as possible. “Perfect reality” just mean that you should remove any blemishes that will not be the experience for every customer, but don’t go so far as to change what the product actually looks like. Remove scratches, rips, defects that may have been caused by handling, shipping, etc, but don’t change the packaging color, saturation, or anything about the actual design. You want the product the customer receives to match as closely to what they see online.
For this bottle, it would be OK to remove the slight tear in the paper label at the bottom as that is not the design intent of the product’s packaging.
If you have any more questions about photographing products, glass or not, drop them in the comments below or send me a message. Or if you have any additional tips for product photography, feel free to share those as well! Hopefully this was informative and helped with your product photography.
Until next time,
Cheers,
Shawn
Here are a couple more examples of glass product photography that I have completed over the years.


