
HOW TO PHOTOGRAPH A MUSIC FESTIVAL!
If you’re getting ready to photograph a musical festival, or just learning for the future, follow along for some helpful tips and tricks - some obvious but important and some that might surprise you.
Pack the Right Gear!
Whether you want to or not, you’re going to end up taking hundreds to thousands of photos per day. Fans are having fun, artists are jumping around, things are happening and you just end up taking a ton of photos. You never want to line up the perfect shot only to realize your memory card is full or your battery is dead. I always recommend having backups and backups to your backups. Have at least two batteries fully charged for the whole day and two or three memory cards that can hold a few thousand photos each. Bonus tip: some cameras have dual memory card slots now and can write to both cards simultaneously. This is a great way to prevent loss of photos in case a memory card fails or gets lost. I personally bring four memory cards/day and use both slots on my Sony a7III so I’m guaranteed to have enough memory and a backup when one card fails, which it has in the past!
Memory cards and batteries should be obvious if you’re photographing a music festival, but don’t forget different kinds of camera straps so your shoulders aren’t the only thing taking the weight all day, a tripod for night shots or shots from far away, lens cloths and air blowers as festivals are often pretty dirty, dusty, or sandy environments, and water! You can be out in the sun all day running and gunning and you don’t wanna get dehydrated.

Do your Homework
As soon as you can, get a lay of the festival land. Get online and look up a festival map or, if nothing else, get in a little early and walk the grounds before the doors open. You’re gonna wanna know where you can go, where you can’t go, and where you shouldn’t go but you’re gonna because the photo will be worth it.
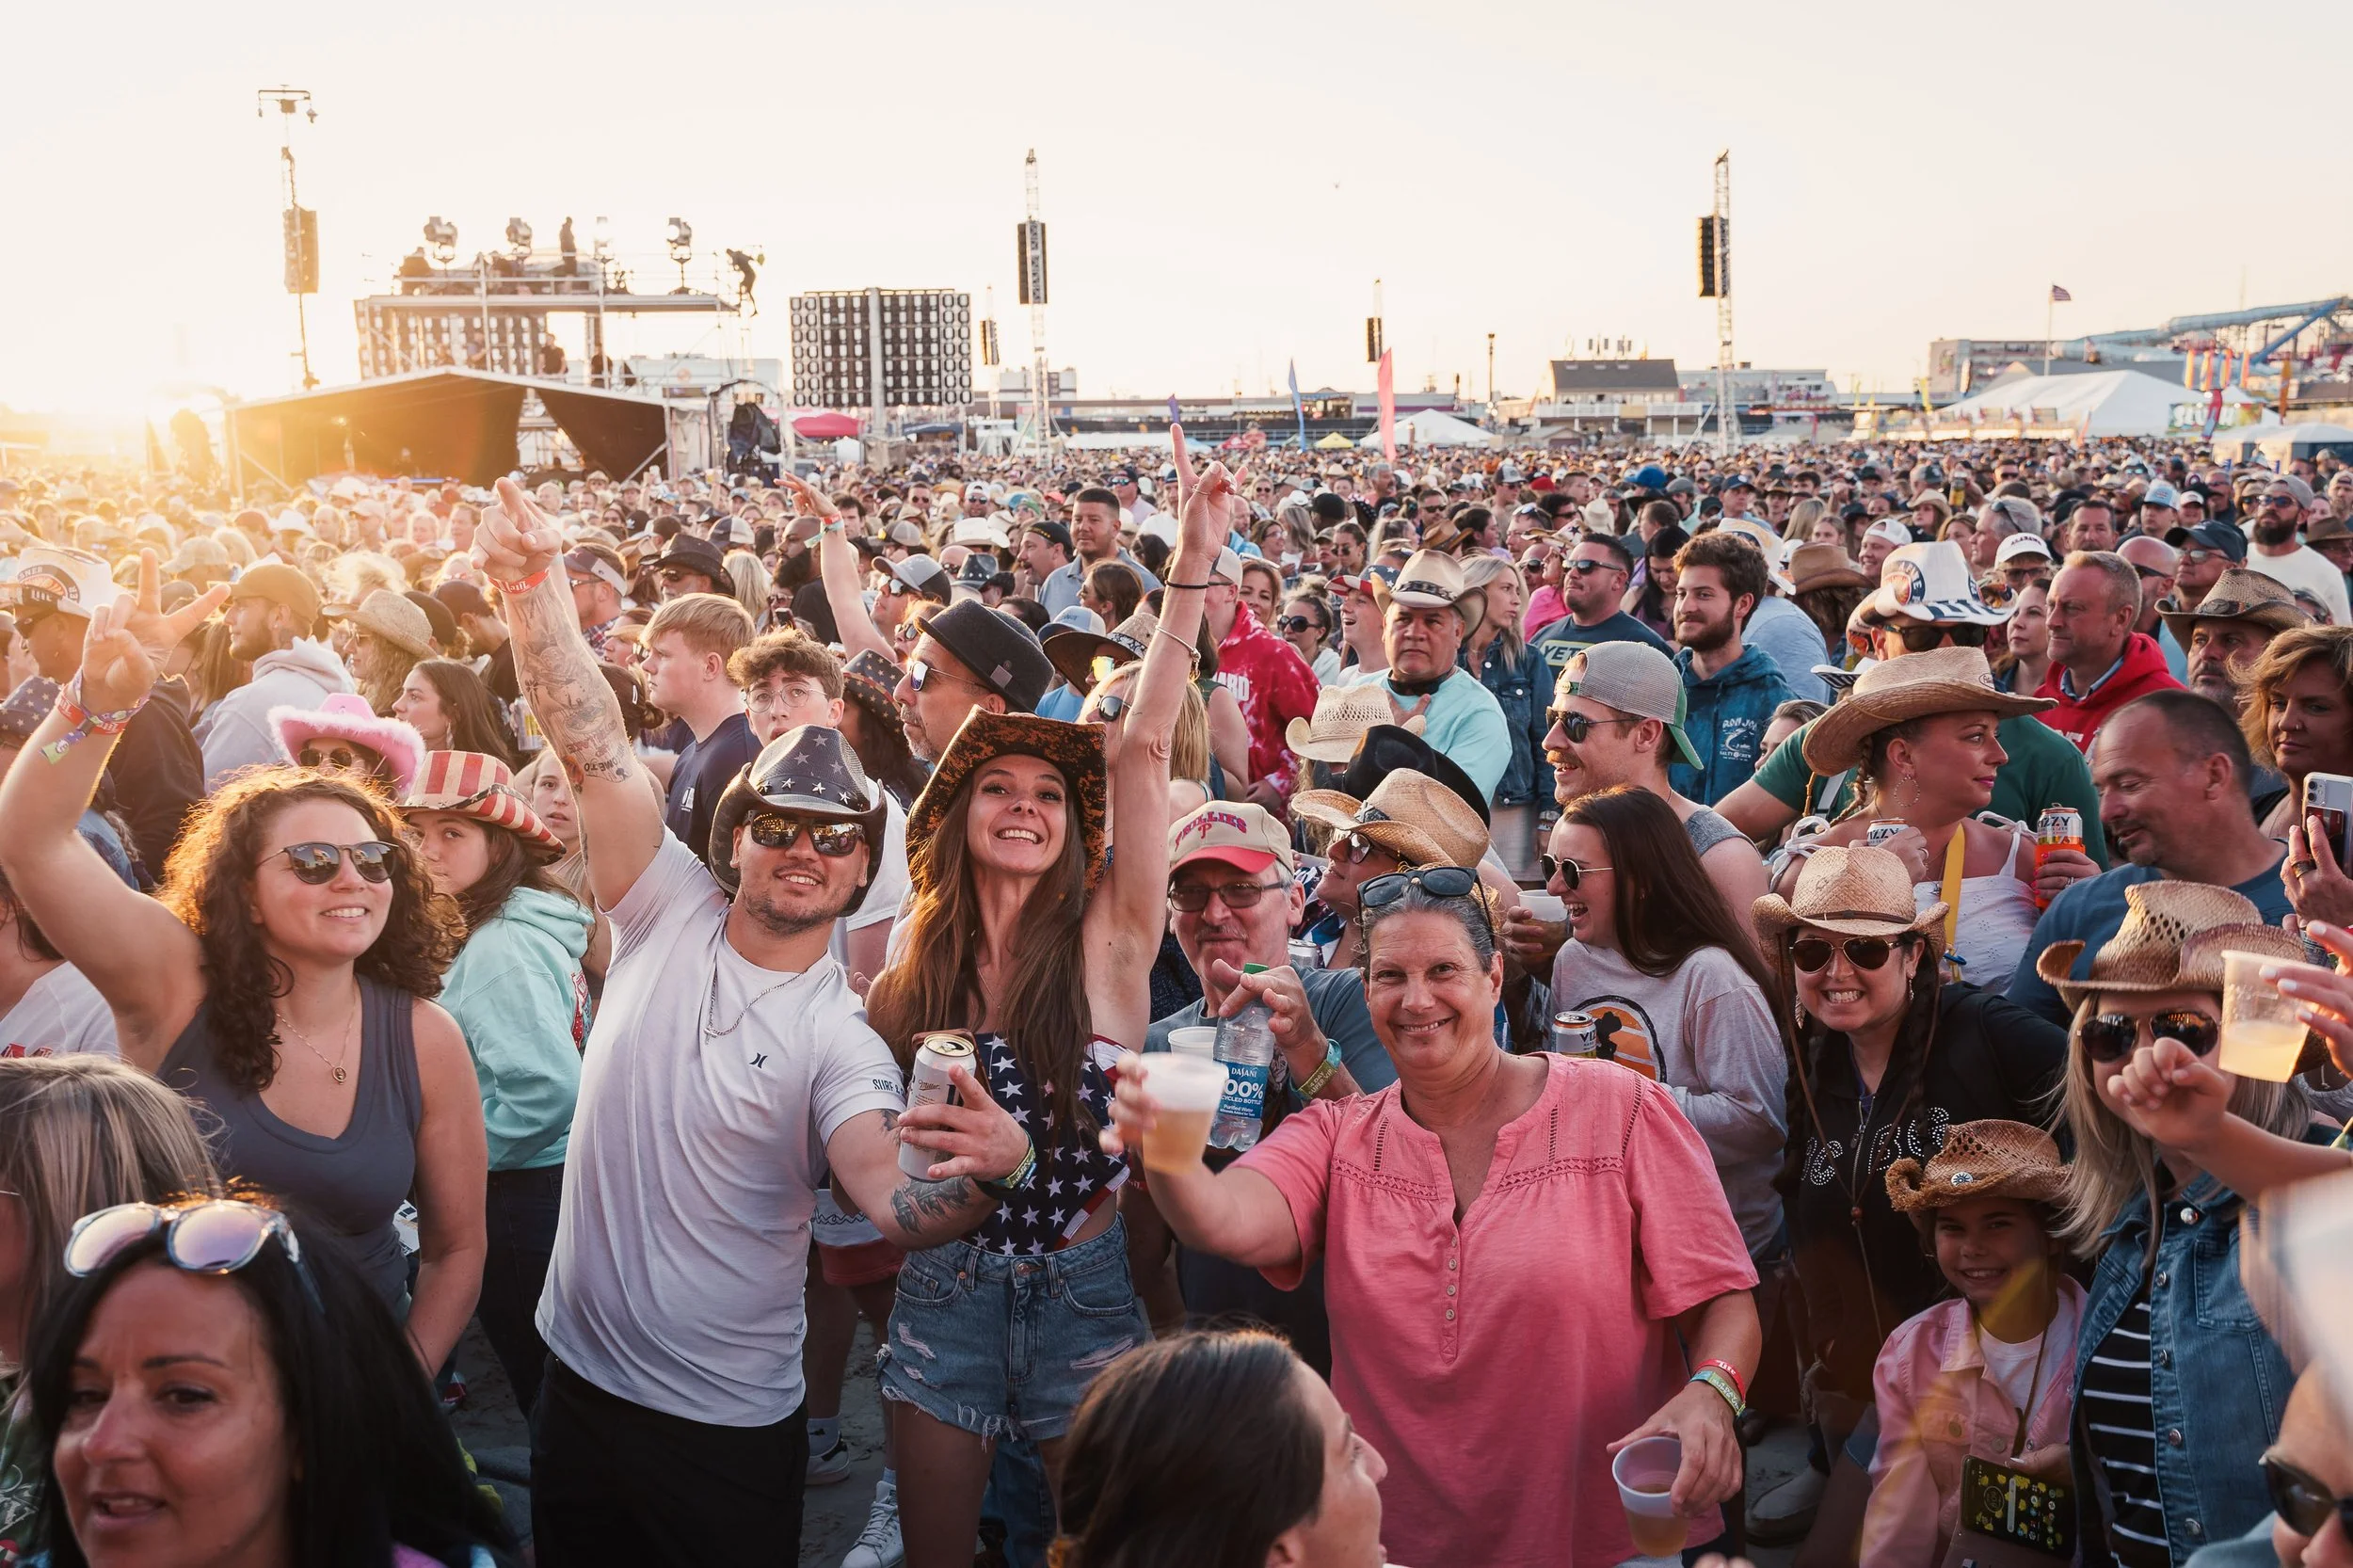
Bonus tip: get to know the super fans at the front/barrier/pit on the first day. There’s a good chance they’ll be there the rest of the festival and can help you get fun crowd shots and won’t mind if you’re standing in front of them for a shot or two since you guys are bffs at that point.
Know which artists will be performing and what their “moves” are. Do they like to jump around, do they walk to the end of catwalk, do they get into the crowd? If you can find past videos of the artist, it might give you an indication of what to expect and what photos you’ll want to get. It’s better to have too much information than be unprepared when something epic happens and you have the wrong lens on.

Editing your photos …fast!
Music festivals are much like any live event in the way that they need to post content as soon as possible if not while it’s still happening. So you’re gonna need to pick your top shots, edit them, and submit them in a matter of minutes to maybe an hour. If you’re still reading this, I’m assuming you’ve edited photos before. I typically do this after a photoshoot in the comfort of my home, but not at a festival. For a festival, I would highly highly highly recommend getting a table that you can transfer your RAW photos to and edit right then and there. If you would rather, you can edit on your phone but you might see a loss in quality or not be able to edit RAW images only JPEGs.
Bonus Tip (anotha one!): Create presets that you can apply to your festival photos so you can batch edit a bunch in seconds and get them out the door even faster. If you’re editing JPEGs, the presets might be too overwhelming so don’t forget to reduce the intensity.
Further Examples
If you are interested in seeing more examples of festival photography, check out my latest music festival photos here! If you have questions or are interested in collaborating, reach out on my contact page!
